Una mirada práctica a Aprender a soldar: términos, técnica y ejemplos prácticos
A Practical Look at Learn How to Weld: Terms, Technique and Practical Examples
The hardest part of learning to weld is often just knowing where to begin. The internet throws processes, machines, gases, and jargon at you all at once, and it is easy to feel you need to understand everything before you can strike a single arc. You do not. Learning to weld follows a sensible order, and if you take the steps in that order, the whole thing is far more approachable than it looks from the outside.
Learning to weld means building, in sequence, three things: an understanding of a few core ideas, safe habits, and hands on control of a weld puddle through deliberate practice. You do not master all of welding at once. You pick one process, learn to lay a decent bead, and grow from there. This is a roadmap for doing exactly that.
Step one: understand a few core ideas
You need only a small vocabulary to start. A weld is metal melted and fused together, and the pool of molten metal you control is the weld puddle. Penetration is how deeply that melting reaches into the base metal. Arc length is the gap between electrode and work, and heat input is how much energy you put in through amperage and travel speed. Learning to see and steer the puddle while holding those things steady is the entire early skill. Everything else builds on it.
Step two: take safety seriously from the start
Welding is safe when respected and genuinely hazardous when not, so good habits belong at the beginning, not later.
- Protect your eyes and skin. The arc emits intense light that burns unprotected eyes and skin. Always use a proper welding helmet with the right shade and cover your skin against the ultraviolet light.
- Ventilate. Welding fumes are not safe to breathe. Work in open or well ventilated space and keep your head out of the plume.
- Manage fire. The arc throws sparks and hot metal, so clear flammables and keep a fire extinguisher within reach.
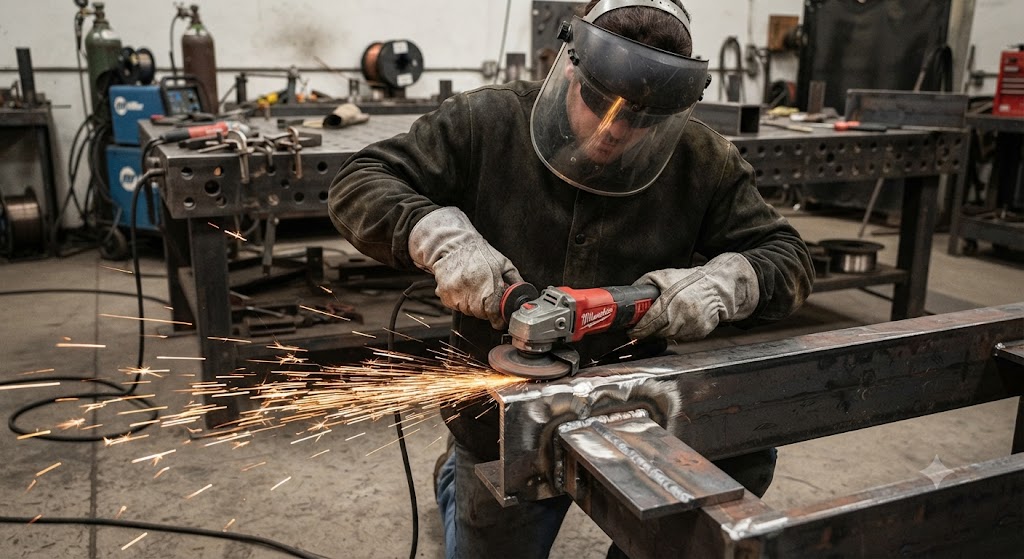
- Dress for it. Wear flame resistant clothing, leather gloves, and closed leather boots. Bare skin and synthetic fabric do not belong near an arc.
Make these automatic before you chase good beads, and they will protect you for a lifetime of welding.
Step three: choose a first process and gear
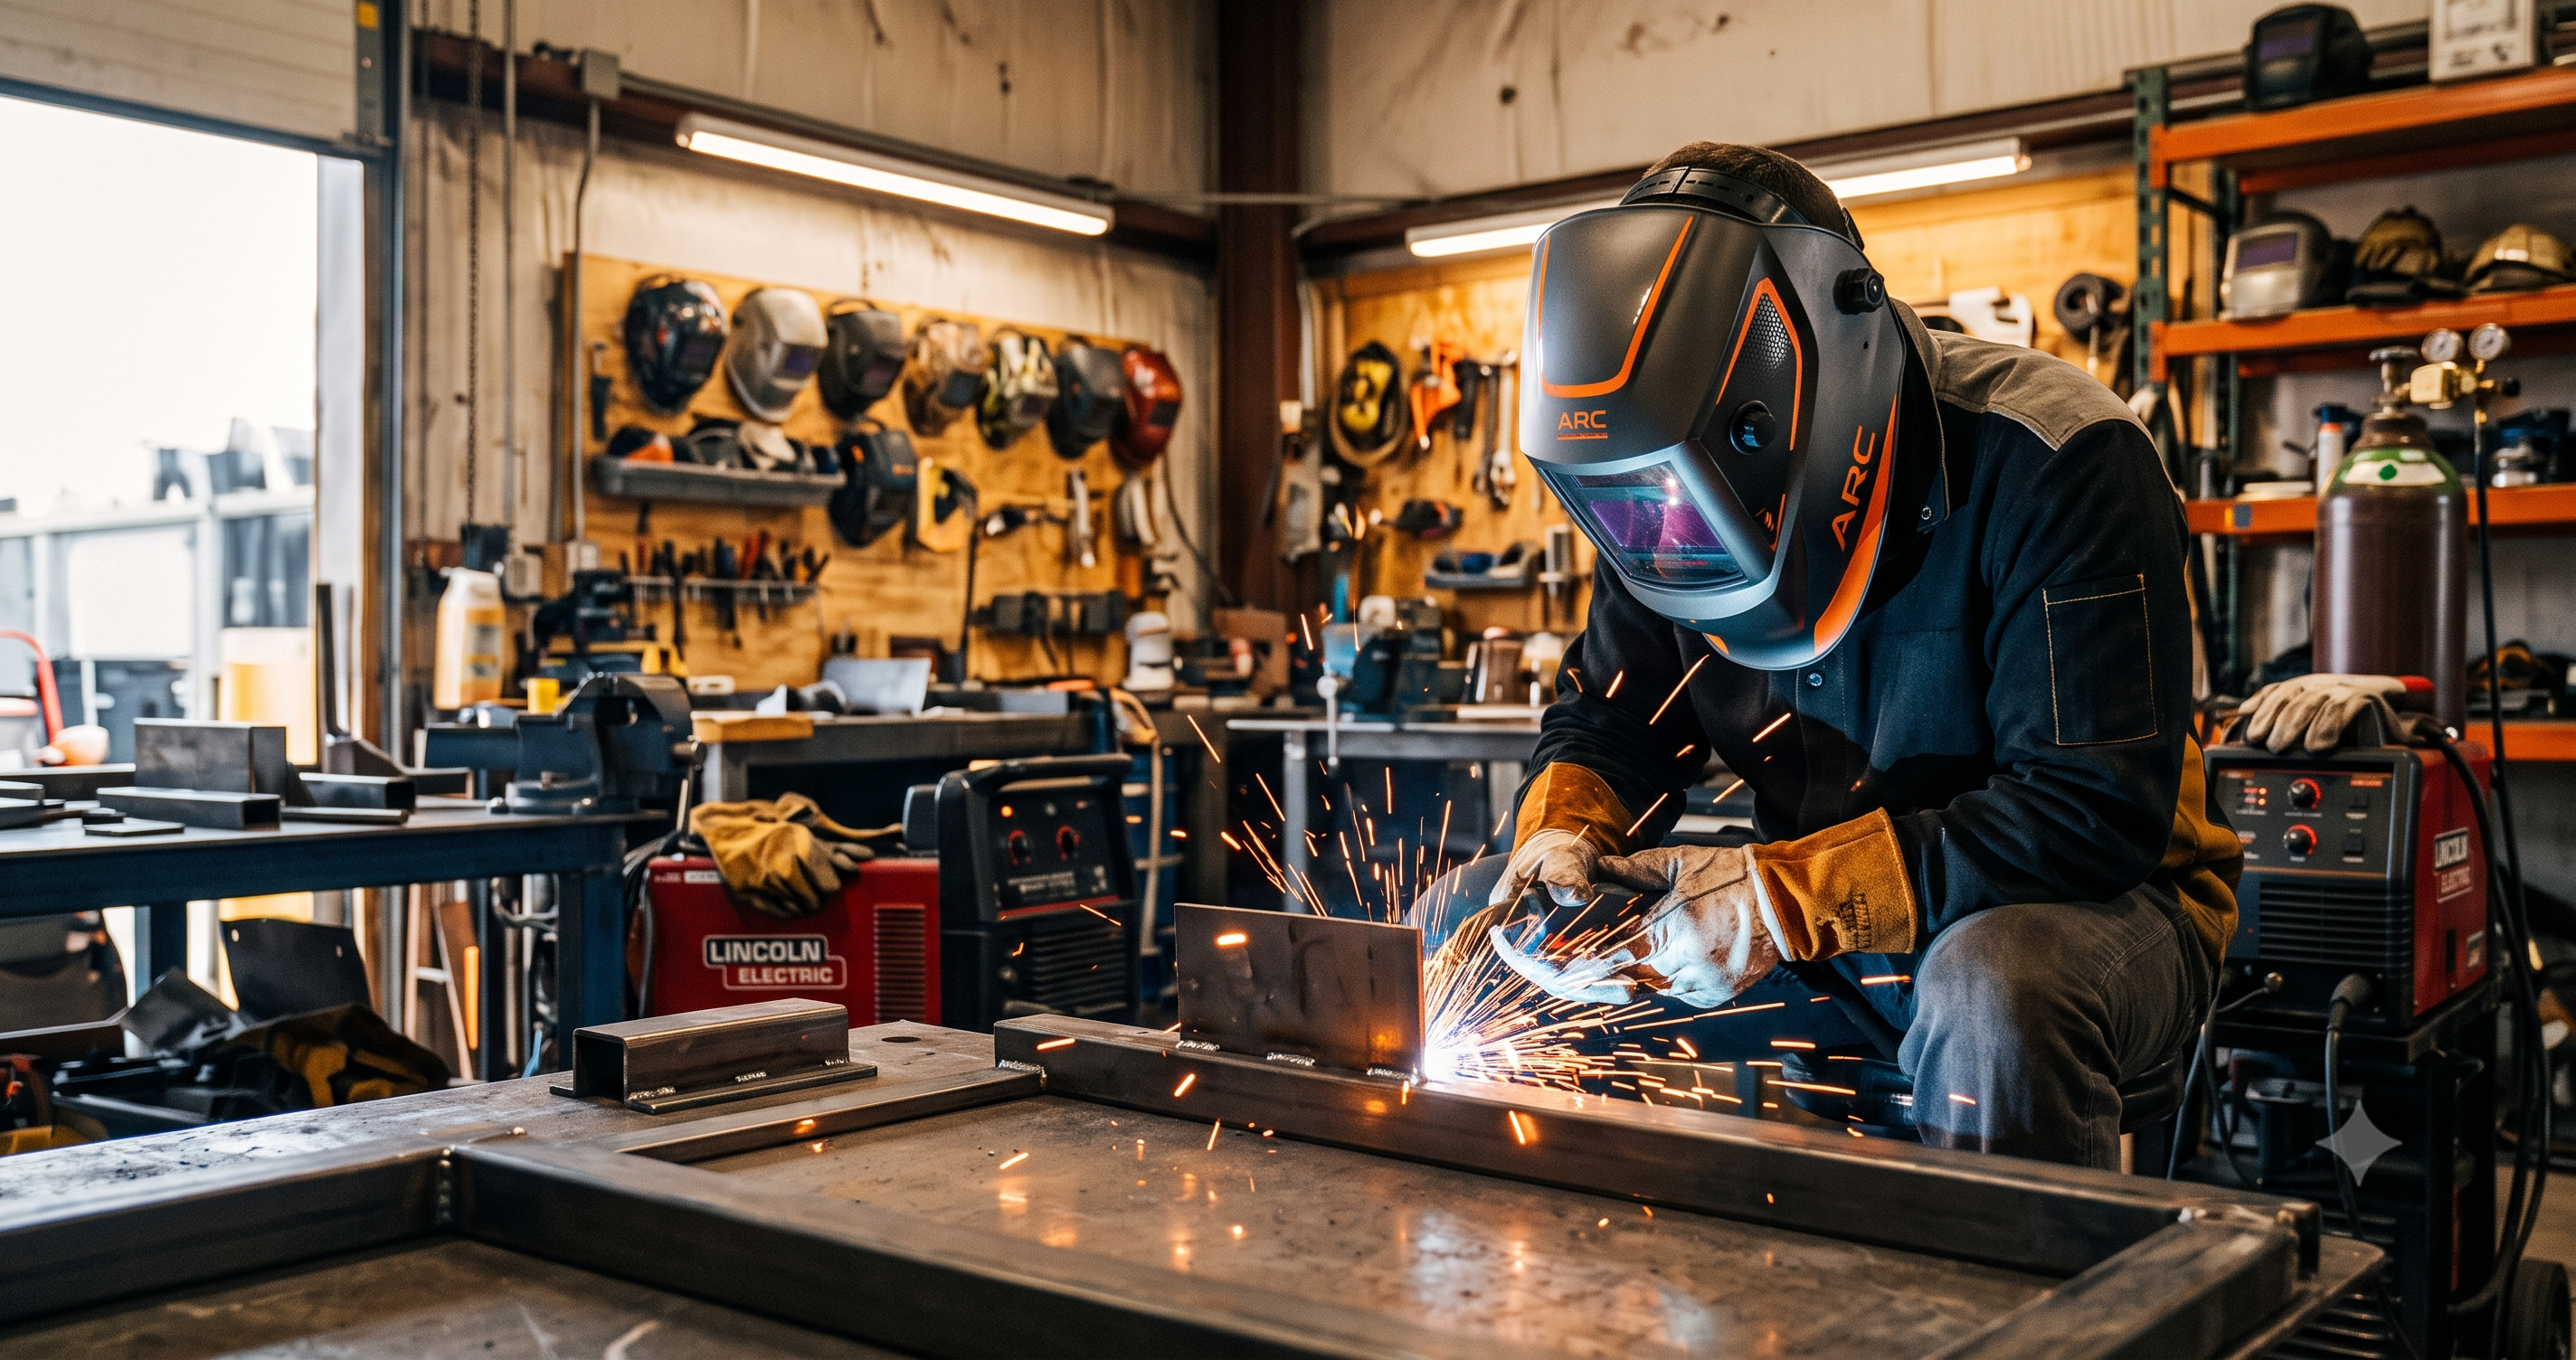
Most beginners start with a wire fed machine, because feeding wire automatically lets you concentrate on the puddle instead of juggling a rod. A self shielded flux core welder like the YESWELDER FLUX-135 runs without a gas cylinder, which keeps a first setup simple, at the honest cost of a rougher bead and slag to chip. A good auto darkening helmet such as the Forney Easy Weld auto darkening helmet matters just as much as the machine, since you cannot control a puddle you cannot see, and quality leather gloves like the Lincoln Electric welding gloves protect your hands while you learn.
| Starter gear | Why it matters | The honest limit |
|---|---|---|
| Self shielded flux core welder | Simple, no gas, portable | Rougher bead, slag to clean |
| Auto darkening helmet | You must see the puddle to steer it | Cheapest lenses can be dim |
| Leather gloves | Protect hands from heat and UV | Thick gloves reduce fine feel |
Step four: a practice plan that builds skill
Do not start by trying to build something. Start by running beads on a flat scrap plate with no joint, laying straight, even lines until they look consistent. This is where you learn to read the puddle and hold a steady speed and arc length.
When your beads are even, move to a simple joint: two plates in a T or edge to edge, focusing on tying into both pieces. Then practice a butt joint and a lap joint, then try welding out of the flat position. Each stage rests on the steady puddle you built in the last, so resist rushing. Save an early project for after your beads are consistent, so the project reinforces good habits instead of frustration.
Practical first projects
Once your beads hold up, small projects cement the skill and stay motivating: a simple steel workbench or stand, a set of brackets, a basic frame or cart, or a garden or shop fixture. Choose forgiving, thicker steel over thin sheet at first, since thicker metal tolerates heat better and is easier to learn on. The satisfaction of using something you welded is a real part of learning.
Putting it all together
Learning to weld is not one giant leap but a sequence: grasp a few core ideas, build safe habits, pick one simple process, and practice beads before projects. Take the steps in order and protect your eyes, lungs, and skin from day one, and welding turns from an intimidating wall into a skill you can genuinely build in your own shop. The ugly first bead is not failure, it is step one.
Frequently asked questions
What is the best process to learn first? Many start with a wire fed machine, often self shielded flux core, because it feeds wire automatically and lets you focus on controlling the puddle.
What safety gear do I absolutely need? A proper welding helmet with the right shade, flame resistant clothing, leather gloves and boots, ventilation, and a fire extinguisher nearby. These are not optional.
How should I practice at the start? Run straight beads on flat scrap plate until they are even before attempting joints or projects. Reading and steering the puddle is the core early skill.
Do I need an expensive machine to learn? No. A modest wire fed welder is plenty to learn on. A good auto darkening helmet is arguably more important to your progress than a costly machine.
Should I learn on thin or thick metal? Start on thicker steel. It tolerates heat better and is more forgiving, while thin sheet burns through easily and frustrates beginners.
How long does it take to learn to weld? Many lay a decent bead within a day or two of focused practice. Building real skill across joints, positions, and metals takes months of regular practice.
References
- OSHA, Welding, Cutting, and Brazing: https://www.osha.gov/welding-cutting-brazing
- National Institute for Occupational Safety and Health, Welding safety: https://www.cdc.gov/niosh/welding/about/index.html
- American Welding Society, standards and codes: https://www.aws.org/standards-and-publications/codes-and-standards/d1-1/