Una mirada práctica a la mesa de soldadura: configuración, estabilidad y espacio de trabajo
A Practical Look at Welding Table: Setup, Stability and Working Space
There is a reason experienced fabricators spend real money on their table before they upgrade their welder. The machine lays the bead, but the table decides whether the finished piece is square, flat, and true. Build on a bowed or wobbly surface and you fight it on every project. Build on a good table and half the difficulty quietly disappears.
A welding table is a steel topped work surface, usually with a grid of fixture holes, that gives you three things: a flat datum surface to build against, a conductive top you can ground to, and a clamping system through those holes. It is the foundation of a metal shop, and it is worth choosing with the same care you give the welder.
The features that decide table quality
Steel plate thickness and flatness. This is the heart of it. A thicker top stays flatter under the heat of welding and the load of clamping, and it resists the slow warping that thinner tops develop over time. Flatness is what makes the table a reference you can trust, so plate thickness is the first spec to read.
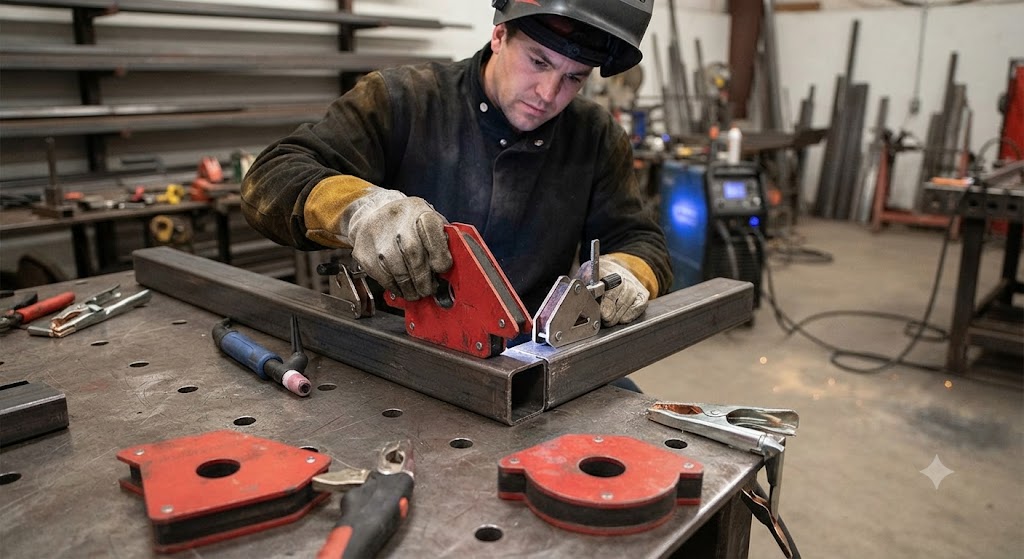
The fixture hole grid. A pattern of holes, commonly 16 mm, turns the surface into a fixturing system. Drop in clamps, locating stops, and fixture pins anywhere on the grid and you hold work square without a third hand. A table without holes is just a steel bench.
Load capacity and frame rigidity. The rating tells you how much weight the table takes, and the frame decides whether it stays rigid or racks side to side under a shove. A heavy, well braced frame keeps the top stable while you lean, hammer, and clamp.
Surface treatment. A nitrided or similarly treated top releases spatter more easily and resists rust, which keeps the datum surface honest over years of use. A raw plate works but demands more upkeep.
Matching a table to your work
For a first table that arrives ready to fixture, the Klutch steel welding table with fit up tool kit includes a starter set of clamps and stops, so you can hold work the day you unbox it. It is bench scale, so it suits hobby and light fabrication rather than heavy structural pieces.
For more surface and capacity, the VEVOR welding table 36 by 24 inch, 800 pound rating gives you room for mid size layouts with a full hole grid. If you want a thicker, higher capacity top, the VEVOR welding table 36 by 18 inch rated to 1200 pounds trades width for a sturdier surface. The fair caution on budget steel tables is that out of the box flatness varies, so check the top with a straightedge on arrival and be ready to dress down a high spot.
| Table | Best for | The honest limit |
|---|---|---|
| Klutch with fit up kit | First table, ready to clamp | Bench scale capacity |
| VEVOR 36x24, 800 lb | Mid size layouts | Verify flatness on arrival |
| VEVOR 36x18, 1200 lb | Heavier work | Narrower working width |
Buy or build?
Plenty of welders build their own table, and it is a rewarding project. A DIY table lets you set the exact size, height, and thickness you want, and it is often cheaper for a given mass of steel. The honest catch is flatness: getting a truly flat top and a hole grid that lines up takes care, good stock, and often a machined or ground plate. If your work needs a precise reference, a purchased fixture table saves you that struggle. If you mostly need a heavy, stable steel surface, building your own is a great use of a weekend.
Setting up your table
Level the feet first. Adjust each foot until the table sits without rocking, then check the top with a straightedge in several directions so you know the reference before you build on it.
Ground to the table, not just the part. Clamp your work lead to a clean spot on the steel and every piece on the surface has a return path, which saves constant reclamping. Keep the contact point free of paint and heavy scale.
Protect the surface. Apply anti spatter, scrape the top after each session, and keep water off bare steel. A treated top makes this easier, but even a raw plate stays flat and clean with a little routine care.
Final read
The welding table is the quiet backbone of the shop. Prioritize a thick, flat top and a real fixture hole grid, level it before you trust it, and ground to the steel to simplify every setup. Whether you buy or build, get the surface flat and the fixturing right, and every project you make on it comes out better with no extra effort at the torch.
Frequently asked questions
How thick should a welding table top be? Thicker is flatter and more stable under heat and load. For serious accuracy, favor the heaviest plate you can justify. Lighter tops are fine for casual work but can warp over time.
What are the fixture holes for? They hold clamps, stops, and pins anywhere on the surface, turning the table into a hands free fixturing system. 16 mm is the common standard.
Should I buy a table or build one? Build if you want a custom size and a heavy stable surface and can manage flatness. Buy if you need a precise, ready to use reference with an aligned hole grid.
How do I keep the top flat over time? Use a treated or thick top, avoid concentrated heat and load beyond its rating, and dress down any high spots from spatter. Flatness is mostly about thickness and care.
Can I ground my welder to the table? Yes. Clamp the work lead to a clean spot on the steel and every part on the table gets a return path, which is one of the main reasons to use a steel top.
Do I need to treat the surface? A treatment like nitriding helps release spatter and resist rust, which is convenient. It is not essential, but a bare top needs more regular cleaning and rust prevention.
References
- OSHA, Welding, Cutting, and Brazing: https://www.osha.gov/welding-cutting-brazing
- American Welding Society, standards and codes: https://www.aws.org/standards-and-publications/codes-and-standards/d1-1/