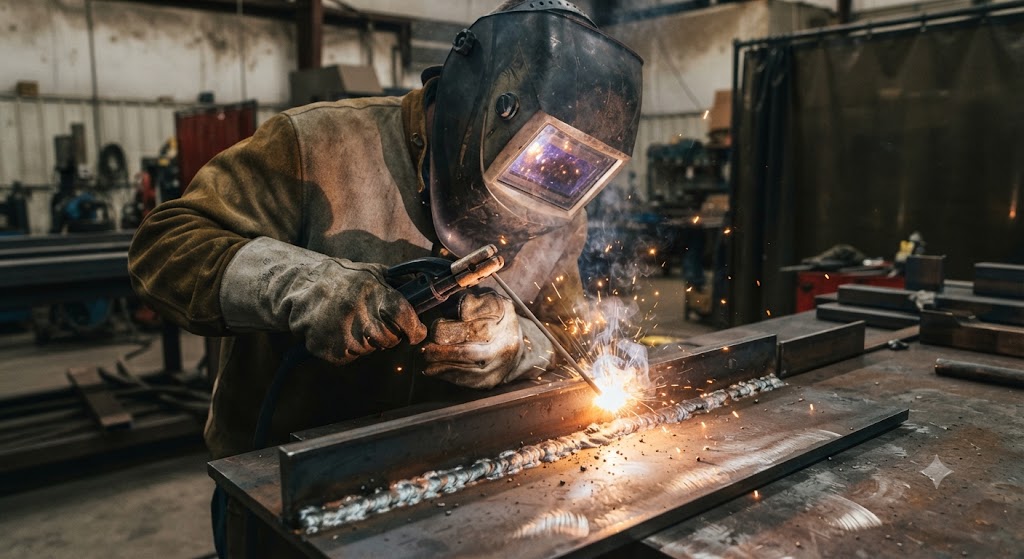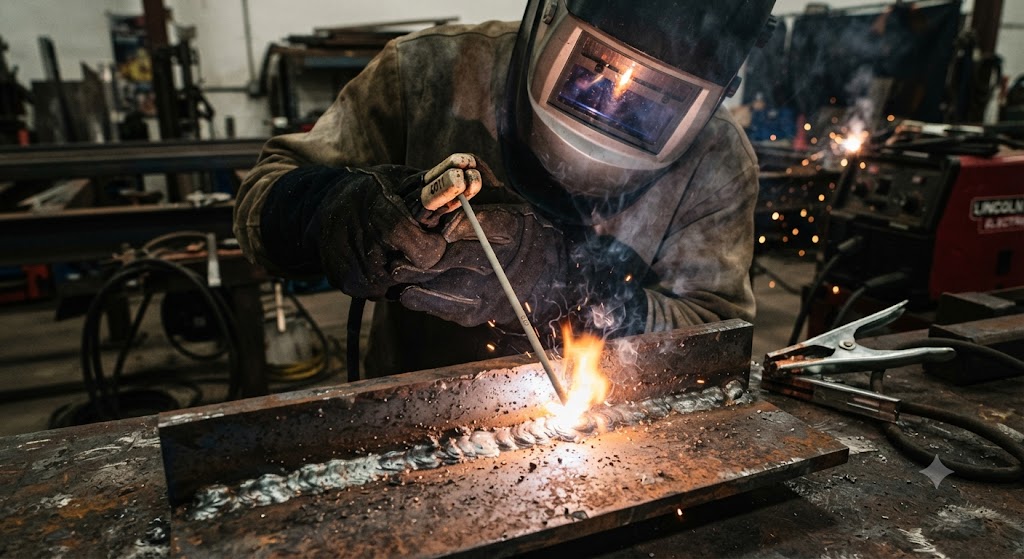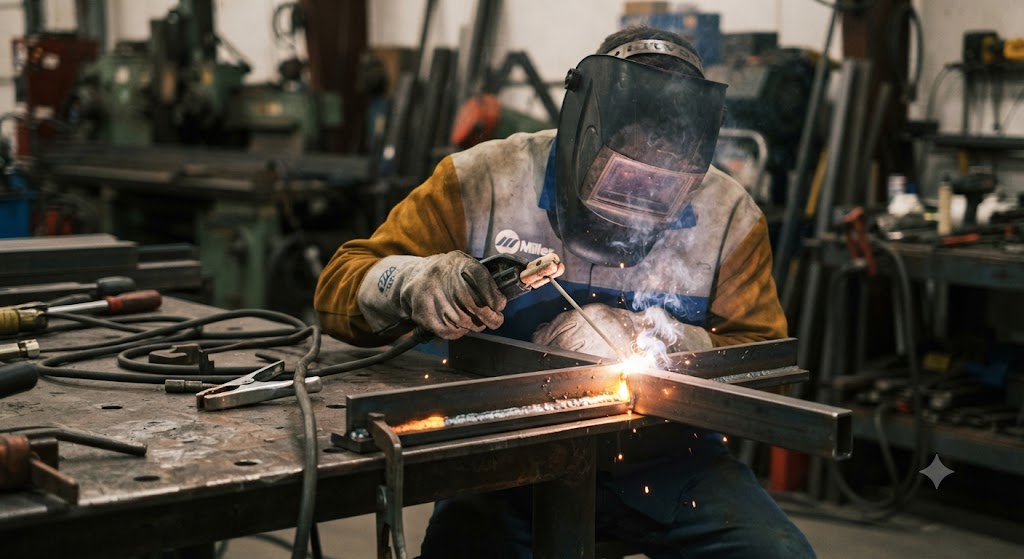
Welding Wire Speed and Voltage Settings Guide
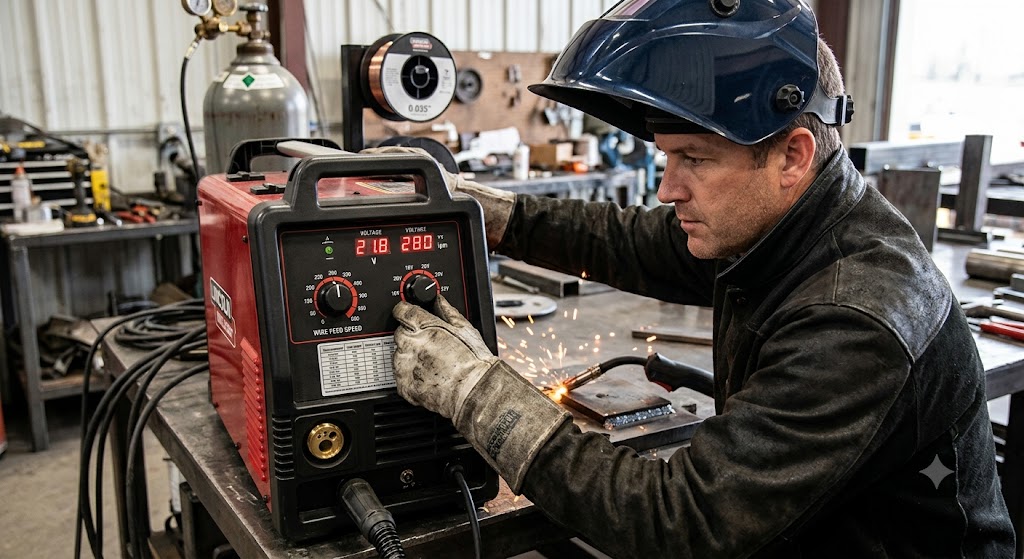
Setting wire speed and voltage correctly is the difference between a good weld and a mess of spatter, porosity, or burn-through. This guide covers the baseline settings for common MIG welding situations and how to dial them in.
How MIG Welding Settings Work
In MIG welding, two primary settings control the weld:
-
Voltage (V): Controls arc length. Higher voltage = longer arc = wider, flatter bead. Lower voltage = shorter arc = narrow, taller bead with more spatter if too low.
-
Wire Feed Speed (WFS, in IPM - inches per minute): Controls amperage and heat input. Higher WFS = more amps = more heat and deposition. Lower WFS = lower amps.
These settings interact: Voltage and WFS must be balanced. Too much voltage for the WFS creates a long, wandering arc. Too little voltage for the WFS creates a “machine gun” spatter pattern and stubbing.
Starting Point Settings by Material Thickness (ER70S-6, 0.030” wire, C25 gas)
| Material Thickness | Voltage | WFS (IPM) | Approx. Amps |
|---|---|---|---|
| 18 gauge (0.048”) | 14–15V | 130–160 | 60–80A |
| 16 gauge (0.060”) | 15–16V | 150–180 | 75–95A |
| 14 gauge (0.075”) | 16–17V | 170–200 | 90–110A |
| 1/8” | 17–18V | 200–240 | 110–140A |
| 3/16” | 18–20V | 260–300 | 145–175A |
| 1/4” | 20–22V | 300–360 | 170–210A |
| 3/8” | 22–25V | 380–450 | 210–260A |
These are starting points - fine-tune by listening to the arc and inspecting the bead.
The “Bacon Frying” Sound Test
A correctly set MIG weld sounds like bacon frying in a pan - a consistent, rapid crackling sound. Use this as your primary dialing-in feedback:
- Popping / irregular rhythm: Voltage too low or WFS too high. Increase voltage or decrease WFS.
- Loud buzzing / long arc: Voltage too high. Decrease voltage.
- Smooth, steady crackle: Correct balance.
- Sputtering / cold starts: Contamination, bad ground, or gas flow issue.
Burn-Through vs. Cold Lap: Diagnosing Settings
Burn-through (holes in the material):
- Heat input too high
- Reduce WFS and/or voltage
- Increase travel speed
- For thin material: stitch/skip weld instead of continuous
Cold lap (bead sits on top, no fusion):
- Heat input too low
- Increase WFS and/or voltage
- Slow travel speed
- Check gun angle and work angle
Excessive spatter:
- Voltage slightly too low for the WFS: increase voltage 0.5–1.0V
- Contaminated base metal or wire
- Incorrect shielding gas flow (should be 20–25 CFH for C25)
Machine-Specific Settings Charts
Most modern MIG welders include a settings chart on the inside of the wire feed door. This chart gives recommended voltage and WFS settings for the specific wire and gas combinations the machine is designed for. Always consult this chart first before using general guidelines.
Common machines and their built-in charts:
- Hobart Handler 140/210MVP: Inside wire compartment door
- Lincoln Electric 210MP: Inside wire feed door
- Miller Millermatic 211: Inside wire feed compartment
- YESWELDER MIG-205DS: Settings label inside door
Synergic MIG Welding
Some modern MIG welders (Lincoln Power MIG 210MP, Miller Millermatic 215) feature synergic control - setting the material thickness and wire diameter automatically adjusts voltage and WFS together. This simplifies setup and is excellent for beginners.
With synergic control:
- Set wire diameter
- Set material thickness
- The machine sets voltage and WFS proportionally
- Fine-tune with a single “weld parameter” knob if needed
FAQs
What are the starting MIG settings for 1/4” steel? Approximately 20–22V, 300–360 IPM wire feed speed with 0.030” ER70S-6 wire and C25 gas. Fine-tune based on arc sound and bead appearance.
How do I know if my MIG settings are correct? A correctly set MIG arc sounds like bacon frying - a consistent, rapid crackling sound. Bead should be flat with good fusion and minimal spatter.
What causes burn-through in MIG welding? Heat input too high for the material thickness. Reduce wire feed speed and voltage, increase travel speed, or use stitch welding for thin material.