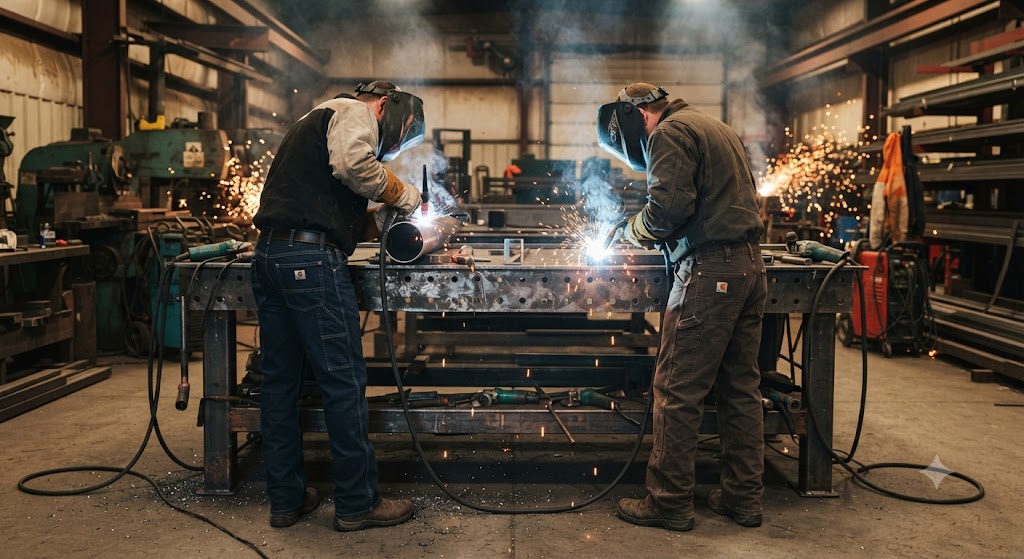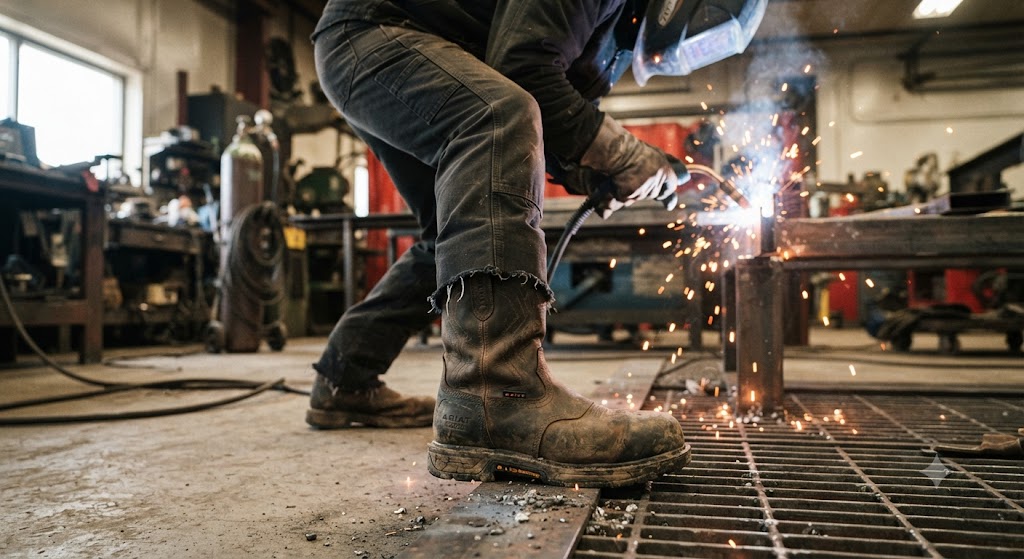
Welding Cap Pattern: How to Sew Your Own Reversible 6-Panel Welding Cap
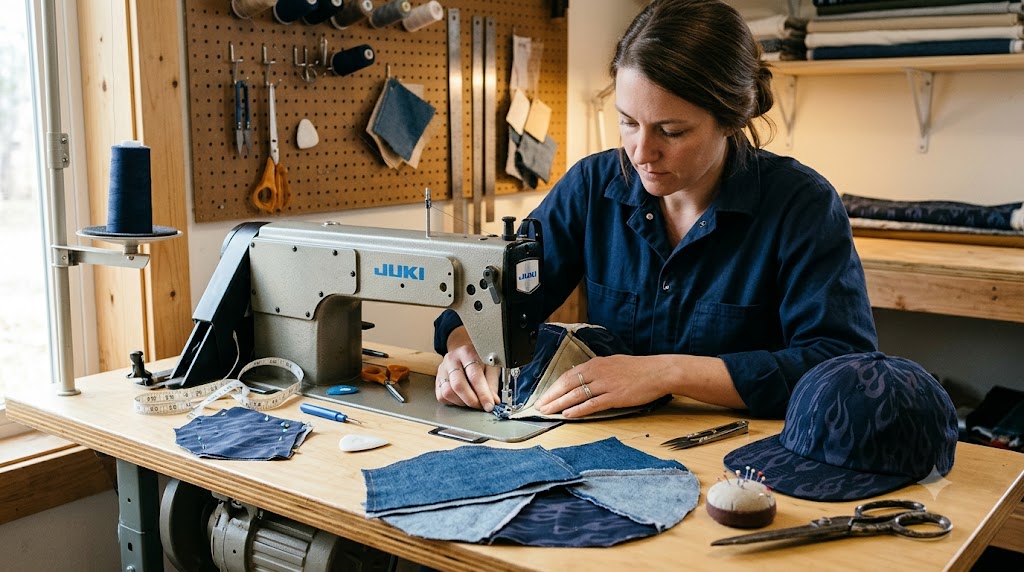
The first welding cap I ever owned was a hand-me-down from an old boilermaker who worked next to me in a fabrication shop outside Toledo. It smelled like grinding dust and pipe dope, the brim was soft as a broken-in ball cap, and it fit my head like nothing I could buy off a rack. When it finally wore through, I could not find a replacement that fit or felt the same, so I sat down at my wife’s sewing machine and figured out a welding cap pattern of my own. That decision saved me a lot of frustration, and it is the reason I am walking you through this today.
If you have ever pushed your hood up and felt sparks land in your hair, you already know why a good cap matters. Sewing your own means you control the fit, the fabric, and the print, and you end up with a cap that actually stays put under a hood all day.
What a Welding Cap Actually Is
A welding cap is a soft, brimmed cap worn under a welding helmet. The classic style is a 6-panel crown with a short, floppy brim that you can spin to the back or side so the helmet seals properly against your face. Old timers call them “beanies” or “welder caps,” and the design has barely changed in decades because it works.
The cap does three jobs. First, it keeps sparks, spatter, and grinding dust off your scalp and out of your hair. Second, it soaks up the sweat that would otherwise sheet down into your eyes while your hands are busy holding a bead. Third, the brim shades your neck and shields the back of your head when you flip your hood up between passes.
Fit is everything. A cap that is too loose slides around under the helmet, and one that is too tight gives you a headache by lunch. When you sew your own, you draft the panels to your exact head measurement, so the cap hugs without squeezing. You also get to pick a fabric that behaves the way you need it to, which matters more than most people think.
Can You Really Sew Your Own Welding Cap, and Is It Safe?
Yes, you can absolutely sew your own welding cap, and with basic machine skills you can finish one in an afternoon. The construction is beginner friendly: six identical crown panels, a two-piece brim, and an optional reversible lining. If you can sew a straight seam and a gentle curve, you can make this cap.
Safety is where you have to pay attention, because fabric choice is not just about looks. Never use synthetics like polyester, nylon, or fleece for a welding cap. Those fibers melt when they meet heat, and melted fabric sticks to skin and makes burns far worse. This is the single most important rule in this whole guide.
For light duty and hobby work, 100% cotton is the traditional choice. It chars and can ignite rather than melt, so it behaves more predictably than synthetics, but plain cotton is still not flame resistant. For anything heavy, for overhead work, or for production welding where spatter rains down, use genuine flame resistant (FR) fabric such as FR treated cotton or an FR cotton blend rated for welding environments. FR fabric is engineered to self extinguish once the heat source is gone, and it is the safer call whenever the sparks are serious.
The American Welding Society and OSHA both stress flame resistant clothing for arc welding, so treat your homemade cap as real personal protective equipment, not a costume piece. Sew it well, choose the right fabric for the work, and it will protect you the way a store bought cap would.
Tools and Materials You Will Need
You do not need a fancy setup. A basic sewing machine, sharp scissors, and patience will get you there. Here is the full list.
| Item | Purpose | Notes |
|---|---|---|
| Outer fabric | Crown and brim shell | 100% cotton or FR treated cotton, roughly half a yard |
| Lining fabric | Reversible inner layer | Second cotton or FR cotton, roughly half a yard |
| Sew-in interfacing | Stiffens the brim | Medium weight, cotton based |
| All purpose thread | Seams | Cotton or cotton wrapped, avoid pure polyester near heat |
| Sewing machine | Assembly | Straight and zigzag stitch is plenty |
| Scissors or rotary cutter | Cutting panels | Sharp blade for clean curves |
| Pins or clips | Holding curves | Clips work better on thick layers |
| Ruler and flexible tape | Measuring and drafting | Tailor’s tape for your head |
| Paper and pencil | Drafting the pattern | Card stock lasts longer as a reusable template |
| Iron | Pressing seams | Pressing makes curves lie flat |
If you plan to make more than one cap, trace your finished pattern pieces onto card stock or thin plastic so you have a durable template to reuse.
Taking Your Head Measurements
Everything starts with an accurate head measurement. Wrap a flexible tailor’s tape around the widest part of your head, just above your ears and eyebrows, where the cap will actually sit. Keep the tape snug but not tight. Write that number down. Most adult heads land somewhere between 21 to 24 inches around.
Use this table to translate your circumference into panel dimensions. Each of the six panels covers one sixth of the crown, plus seam allowance.
| Head circumference | Panel width at base (with seam allowance) | Panel height (with seam allowance) | Finished brim length |
|---|---|---|---|
| 21 inches (Small) | 4.0 inches | 5.75 inches | 21 inches |
| 22 inches (Medium) | 4.2 inches | 6.0 inches | 22 inches |
| 23 inches (Large) | 4.4 inches | 6.25 inches | 23 inches |
| 24 inches (XL) | 4.6 inches | 6.5 inches | 24 inches |
All of these numbers already include a half inch seam allowance. If you like a roomier cap, add a quarter inch to the panel width. If your machine tension tends to pull seams tight, that little bit of extra room is cheap insurance.
Drafting the Panel and Brim Pattern Pieces
The crown panel looks like a tall, narrow leaf or teardrop. Take a piece of paper and draw a vertical center line as tall as your panel height from the table. Mark your panel width at the base, centered on that line. Now curve each side up from the base corners to a point at the top of the center line, so the two curves meet in a soft peak. That teardrop is one panel. You will cut six from the outer fabric and six from the lining.
The brim has two parts. Draft a long, shallow crescent for the top of the brim and an identical one for the underside. Length should match your finished brim length from the table, and the crescent should be about 3 inches deep at the center, tapering to the ends. You will also cut one crescent from interfacing to stiffen the brim without making it rigid.
Cut everything out. Take a minute to label the outer and lining pieces so you do not mix them up once they are stacked.
Step by Step Sewing
Work slowly through the curves and press as you go. Pressing is what separates a homemade look from a clean one.
-
Sew the crown in halves. Place two outer panels right sides together and stitch one curved edge with a half inch seam allowance. Add a third panel to make a half dome of three panels. Repeat with the other three panels. Press every seam open or to one side.
-
Join the two halves. Put the two three panel domes right sides together, line up the center seams, and stitch the long curve from front to back. You now have the outer crown. Repeat the entire process with the six lining panels to build the inner crown.
-
Build the brim. Layer the interfacing against the wrong side of the top brim piece. Place the top and underside brim pieces right sides together and stitch along the long outer curve. Clip the curve, turn it right side out, press it flat, and topstitch the outer edge for a crisp finish.
-
Attach the brim to the outer crown. Find the front center seam of the outer crown. Pin the raw edge of the brim to the lower front edge of the crown, centered, with the brim pointing up toward the crown. Baste it in place.
-
Marry the layers. Slide the lining crown over the outer crown, right sides together, so the brim is sandwiched between them. Pin around the bottom opening and stitch all the way around, leaving a 3 inch gap at the back for turning.
-
Turn and close. Pull the whole cap right side out through that gap. Push the lining up inside the outer crown. Press the bottom edge, then topstitch around the entire lower band, which also closes your turning gap. That topstitch is what makes the cap reversible and gives it a finished band.
Fitting Adjustments
Try the cap on before you call it done. If it feels loose, turn it inside out and take a slightly deeper seam on two opposite panels, then taper back to the original line so the shape stays even. If it is snug, resist the urge to force it, since cotton relaxes a little with wear and washing. For a bit more stretch, a short strip of half inch elastic sewn into the back band works well without changing the classic look. Because the cap is reversible, remember that any adjustment affects both faces, so make small changes and test as you go.
Washing and Care
Wash your finished cap in cold water on a gentle cycle and let it air dry to keep the shape and colors true. Skip fabric softener, since it can coat fibers and reduce the char resistance of cotton. This point is critical: if you used FR treated fabric, follow the manufacturer’s laundering instructions exactly, because harsh detergents, bleach, and high heat drying can strip the flame resistant finish over time. Inspect the cap regularly for burn holes or thin spots, and retire it once the fabric is compromised. A cap with holes stops doing its job.
Why This Project Is Worth Your Afternoon
Sewing your own welding cap gives you three things you cannot buy together: a fit dialed to your exact head, a fabric you trust for the work you actually do, and a reversible design that doubles your wear between washes. Once you have drafted the pattern once, the second and third caps go together fast, and you can make them in shop friendly prints or heavier FR cloth as your work demands. Choose the right fabric, sew clean seams, and take care of the finished cap, and you will have a piece of gear that fits and protects better than anything off the shelf. Fire up the machine and make the first one; your head will thank you the next time the sparks fly.
Frequently Asked Questions
What fabric is safest for a welding cap? Genuine flame resistant fabric, such as FR treated cotton, is the safest choice because it self extinguishes once the heat source is removed. For light hobby work, 100% cotton is acceptable, but never use synthetics like polyester or nylon, which melt onto skin.
Why can I not use polyester or fleece? Synthetic fibers melt under heat instead of charring. Melted fabric sticks to your skin and can turn a minor spark into a serious burn. Keep all synthetics out of any garment worn near an arc.
Is plain cotton good enough for heavy welding? Not really. Plain cotton resists melting but can still ignite and keep burning. For overhead work, production welding, or heavy spatter, use FR fabric rated for welding environments.
How long does it take to sew one? Once your pattern is drafted, a single reversible cap takes most people two to three hours. Your first one may take a little longer while you get comfortable with the curved seams.
What size seam allowance should I use? A half inch seam allowance is built into the measurements in this guide. Stay consistent, because uneven seam allowances will throw off the fit of the six panels.
Can I make the cap reversible? Yes. This pattern is designed to be reversible with a full lining. Just use two fabrics you trust for heat, since both faces may end up against sparks.
How do I keep the fit from loosening? Cotton relaxes slightly with wear, so start snug. If you need adjustment, add a short strip of half inch elastic to the back band rather than resewing every panel.
How often should I replace a homemade welding cap? Inspect it before every use and retire it as soon as you see burn holes, thin spots, or a degraded FR finish. Damaged fabric no longer protects you.
Does washing affect flame resistance? It can. Fabric softener and improper laundering reduce cotton’s char resistance and can strip FR finishes. Follow the fabric manufacturer’s washing instructions closely.
Can beginners really sew this? Yes. If you can sew a straight seam and a gentle curve, you can build this cap. The six panel crown is repetitive and forgiving once you find your rhythm.
References
https://www.aws.org https://www.osha.gov/laser-hazards/welding-cutting-brazing https://www.osha.gov/personal-protective-equipment https://www.nfpa.org
SEO Title: Welding Cap Pattern: Sew Your Own