How to Choose a Welding Helmet: The Complete Buyer's Guide
The welding helmet market can overwhelm a first-time buyer, with prices spanning from pocket change to the cost of a decent welder and a wall of specifications that mean nothing without context. Learning how to choose a welding helmet comes down to understanding a handful of features that actually affect your safety, your view, and your comfort, and then ignoring the marketing noise around the rest. This guide walks you through those decisions in plain language so you buy the right hood the first time.
Start with auto-darkening versus fixed shade
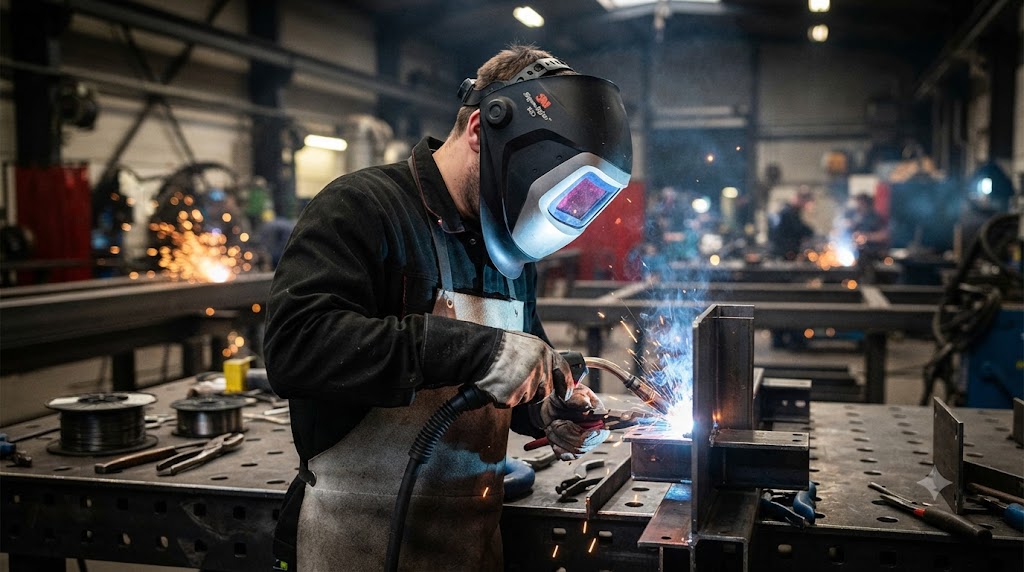
The first decision is the easiest. A fixed-shade passive helmet is cheap and reliable but stays dark, forcing you to nod it down and work blind until the arc strikes. An auto-darkening helmet stays light so you can see to position your work, then darkens instantly when you strike the arc. For all but the most specialized or budget-constrained uses, an auto-darkening hood is the right choice today, and it is what the rest of this guide assumes.
The features that actually matter
Focus your attention and money on these, in roughly this order.
Arc sensors. Aim for four sensors. They detect the arc more reliably than two, especially out of position or when one is blocked, reducing the risk of a flash. Four sensors are now standard even on good budget hoods.
Shade range. Look for a variable dark shade covering at least 9 to 13, plus a light or grind mode. That range handles the vast majority of MIG, TIG, and stick work. Lower TIG amperage benefits from a range that reaches down to shade 8.
Optical clarity rating. Every auto-darkening lens carries a four-digit rating like 1/1/1/1, measuring clarity, diffusion, uniformity, and angle dependence. Lower numbers are better, so a 1/1/1/1 or 1/1/1/2 lens indicates high quality. True-color lenses further improve how naturally you see the weld pool.
Viewing area. A larger window helps you see the work and surroundings. Budget hoods now offer 9 or more square inches, while premium hoods reach 12 to 13 or use curved panoramic designs.
Switching speed. Faster is better, and even good budget hoods now switch in well under 1/20,000 of a second, quick enough to protect your eyes on every strike.
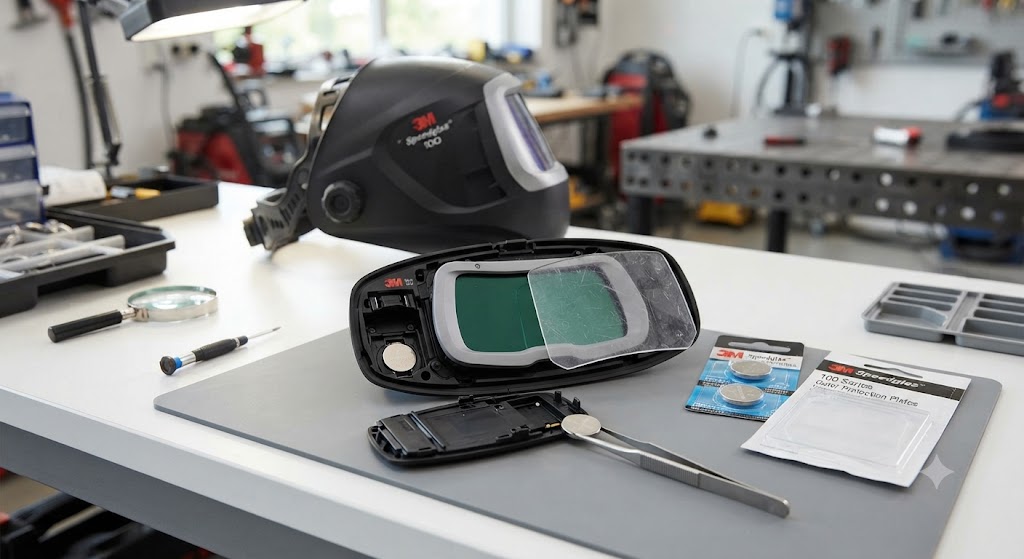
Power source. Prefer solar assistance with a replaceable battery, so the hood is never permanently dead and you can carry a cheap spare. Be cautious of hoods with sealed, non-replaceable batteries.
Comfort is not optional
A helmet you dread wearing is a helmet you will take off at the wrong moment. Weight matters over a long shift, so lighter is better if you weld all day. Good, adjustable headgear that spreads the load and fits your head shape is worth paying for; poor headgear is the most common complaint even on otherwise capable hoods. If you can, try the hood on, and pay attention to how the weight sits and how easily it adjusts.
Match the hood to how you weld
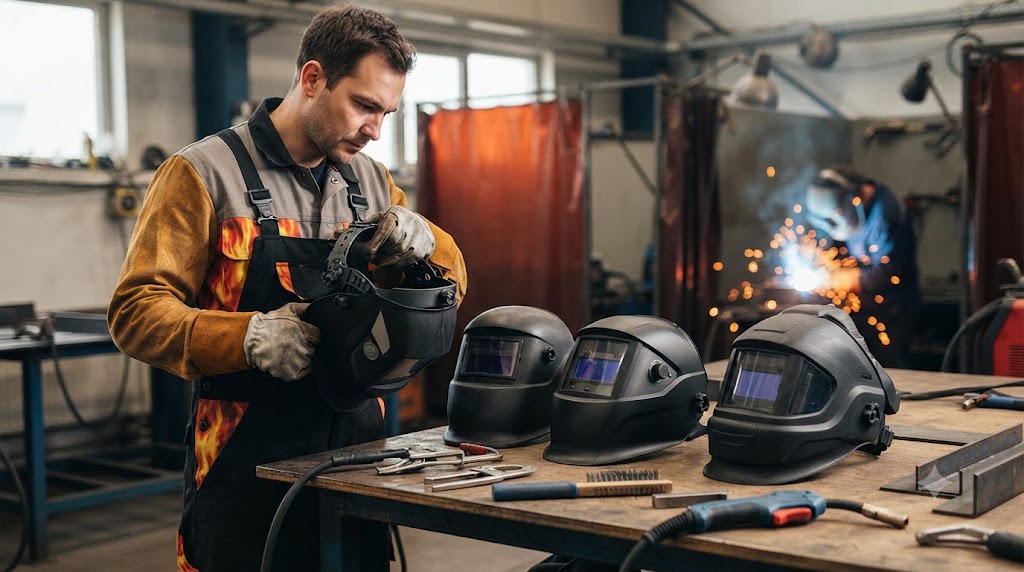
The right helmet depends on your use. Occasional hobbyists are well served by a good budget auto-darkening hood with four sensors and a large view. Regular welders should step up to a mid-range hood for better optics, comfort, and durability. Full-time professionals, outdoor welders, and those in fume-heavy environments should consider premium features like electromagnetic arc sensing for sunlight, the brightest true-color optics, and PAPR compatibility for powered air. Buying far more hood than your work needs is a common and avoidable mistake.
Who should not overspend? Occasional and hobby welders rarely need a flagship; a reputable budget or mid-range hood will serve them well for years, and the money is better spent on the welder, consumables, and other safety gear.
The bottom line
Knowing how to choose a welding helmet means prioritizing four sensors, a 9 to 13 shade range, a good optical rating, a large enough view, a replaceable battery, and genuine comfort, then matching the tier to how often and where you weld. Get those right and the brand logo matters far less than the fit between the hood and your work.
Frequently asked questions
What is the most important feature in a welding helmet? Reliable eye protection through four arc sensors, an appropriate variable shade range, and a good optical clarity rating, followed closely by comfort.
How many sensors should a welding helmet have? Four. Four sensors trigger more reliably than two, especially out of position or when one is blocked.
What shade range do I need? A variable dark shade of at least 9 to 13 plus a grind or light mode covers most MIG, TIG, and stick welding. Low-amp TIG benefits from reaching shade 8.
What does the optical rating mean? The four-digit rating measures clarity, diffusion, uniformity, and angle dependence, with lower numbers better. A 1/1/1/1 lens is top quality.
Is an auto-darkening helmet better than a fixed-shade one? For nearly all users, yes. It lets you see to set up, then darkens instantly on the arc, improving both safety and productivity.
How much should I spend on a welding helmet? Enough to match your use. Hobbyists do well with a good budget hood, regular welders with a mid-range one, and only full-time or demanding users need premium prices.
References
- American Welding Society, welding lens shade chart and eye protection guide
- ANSI/ISEA Z87.1-2020 eye and face protection standard, NIOSH
- Manufacturer buying guidance, Lincoln Electric, Miller Electric, and 3M Speedglas
- OSHA fact sheet, eye protection during welding