Welding Helmet Shade Chart: Choosing the Right Lens Number
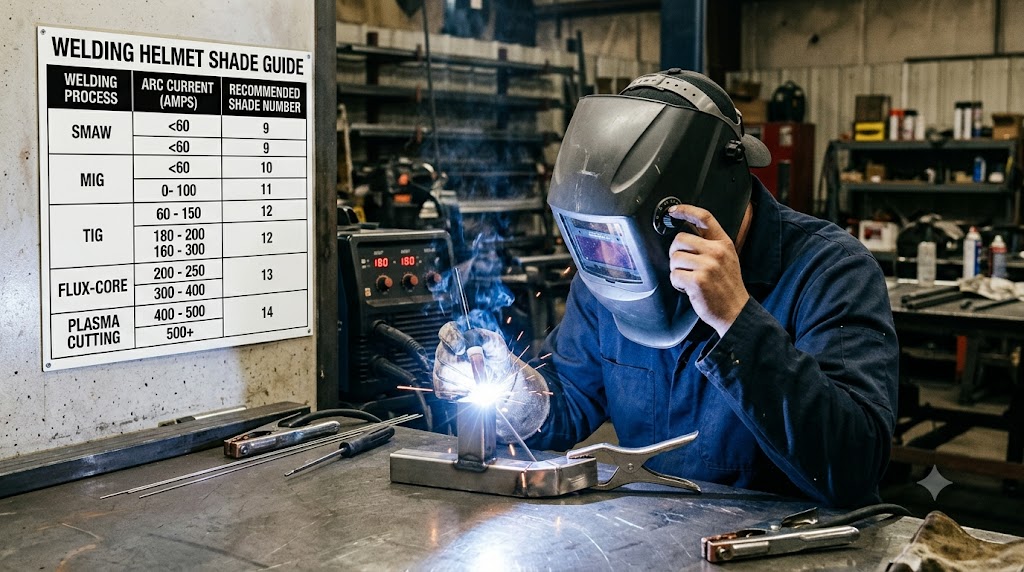
Set your lens too light and you risk arc eye and long-term damage; set it too dark and you cannot see the puddle well enough to lay a good bead. A welding helmet shade chart takes the guesswork out of that balance by matching your process and amperage to a safe, workable lens number. This guide explains what the numbers mean, gives you a clear shade chart by process, and shows you how to fine-tune within the safe range for the best possible view.
What welding shade numbers mean
A welding lens shade number tells you how much light the filter blocks, on a scale that typically runs from about 4 to 14. Higher numbers are darker and block more of the intense visible, ultraviolet, and infrared light an arc produces. The scale is often expressed as a DIN rating, and the principle is simple: the brighter and higher-amperage your process, the higher the shade number you need to protect your eyes.
Broadly, lower shades from 4 to 8 suit non-arc tasks like grinding, brazing, and oxyfuel cutting; mid shades from 9 to 12 cover most MIG and TIG welding; and higher shades from 13 to 14 are for intense, high-amperage arcs such as heavy stick and flux-cored welding.
Welding helmet shade chart by process and amperage
Use the following as a general guide, based on ANSI and AWS recommendations. When in doubt, start darker and step lighter until you can see the weld pool clearly without going below the minimum safe shade.
Stick welding (SMAW):
- Less than 60 amps: shade 7 to 9
- 60 to 160 amps: shade 10
- 160 to 250 amps: shade 11
- 250 to 550 amps: shade 12 to 14
MIG welding (GMAW):
- 60 to 160 amps: shade 10 to 11
- 160 to 250 amps: shade 11 to 12
- 250 to 500 amps: shade 12 to 14
TIG welding (GTAW):
- Less than 50 amps: shade 8 to 10
- 50 to 150 amps: shade 10 to 12
- 150 to 500 amps: shade 12 to 14
Flux-cored (FCAW):
- 125 to 175 amps: shade 10
- 175 to 300 amps: shade 11 to 12
- 300 to 500 amps: shade 12 to 14
Non-arc tasks:
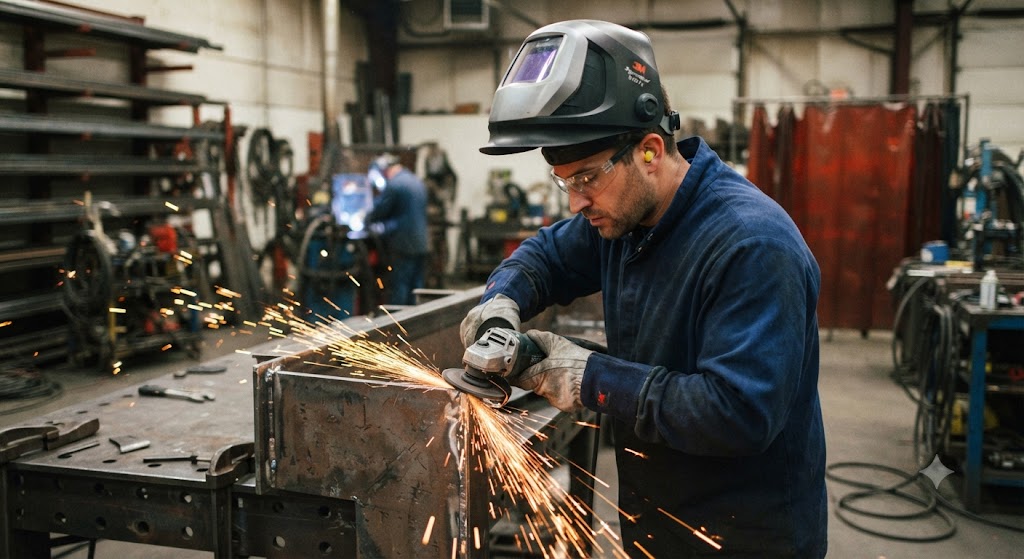
- Grinding: shade 2 to 3 or a clear grind mode
- Oxyfuel cutting and brazing: shade 4 to 6
- Plasma cutting: shade 8 to 10
How to fine-tune within the safe range
The chart gives you a safe band, not a single answer, and personal comfort matters within it. The long-standing rule of thumb is to start with a shade that is slightly too dark, then step to a lighter shade that gives you a clear view of the weld zone without dropping below the minimum. Your eyesight, ambient lighting, and the specific arc all shift the ideal by a shade or so, and that is normal. Never go lighter than the minimum just to see better; if you need more visibility, improve your lighting or add a magnifying lens instead.
Why auto-darkening helmets make this easier
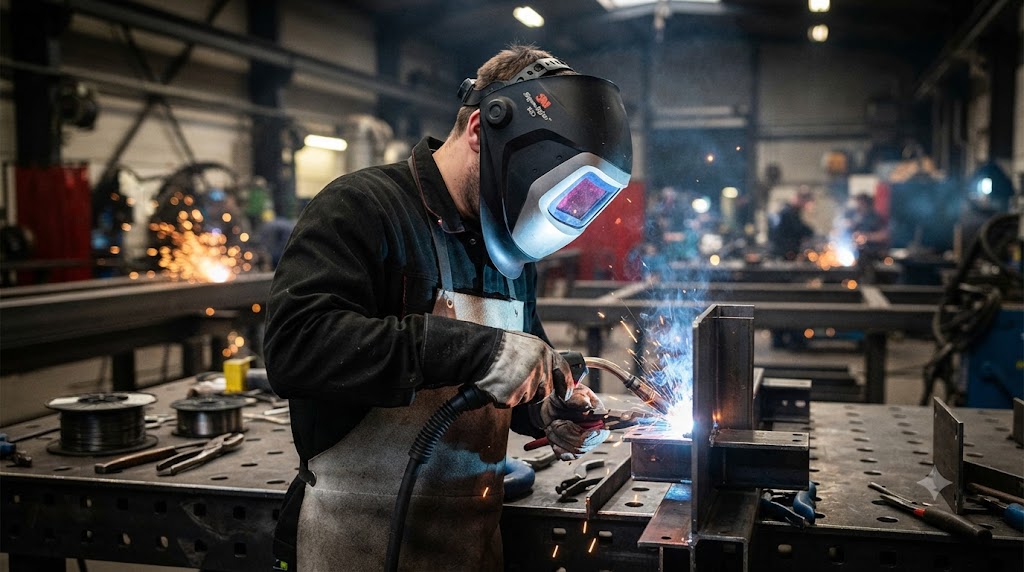
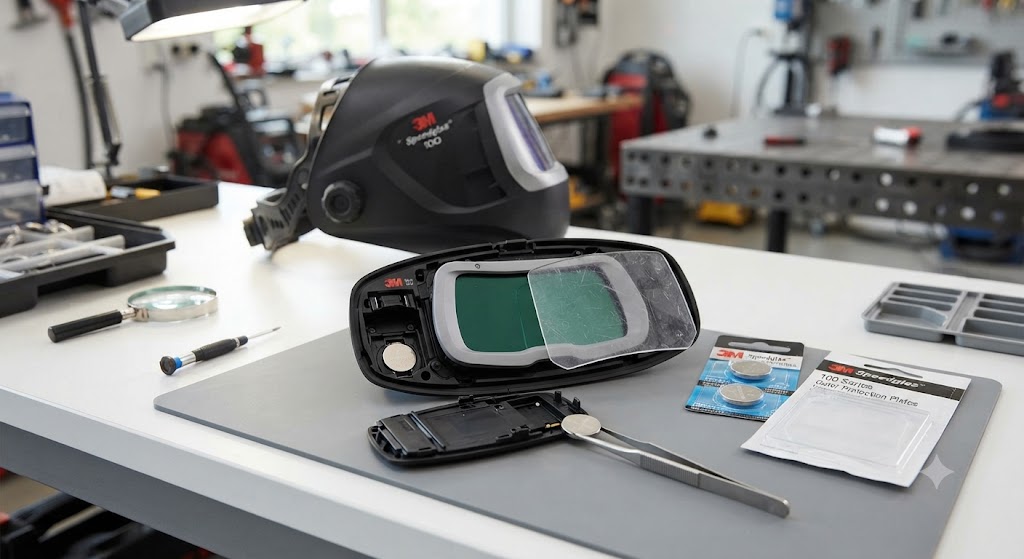
An auto-darkening helmet with a variable shade range, commonly 9 to 13, lets you dial in the exact number for your process without swapping fixed lenses, and it drops to a light or grind state between welds. Many premium hoods even set the shade automatically based on arc brightness. This is why variable-shade auto-darkening hoods have largely replaced fixed-shade lenses for welders who run multiple processes and amperages.
The bottom line
A welding helmet shade chart exists to keep your eyes safe first and your view clear second. Match your process and amperage to the recommended band, start slightly dark and step lighter for comfort, and never drop below the minimum safe shade. An auto-darkening hood with a 9 to 13 range covers the vast majority of everyday welding.
Frequently asked questions
What shade do I need for MIG welding? Typically shade 10 to 12 depending on amperage, with higher amperage requiring a darker shade.
What shade is best for TIG welding? Usually shade 8 to 10 for low-amp work and up to 12 to 14 for high-amp TIG, adjusted for arc brightness and comfort.
What shade should I use for stick welding? Generally shade 10 for medium amperage, rising to 12 to 14 for high-amperage stick work above 250 amps.
What shade is safe for grinding? A light shade 2 to 3, or a dedicated grind mode, since grinding does not produce an arc but still needs impact protection.
Is a higher shade number safer? A higher number blocks more light and offers more protection, but going too dark reduces visibility. Use the darkest shade that still lets you see the weld pool clearly.
What shade range covers most welding? A variable shade 9 to 13 range covers the majority of MIG, TIG, and stick welding, which is why most auto-darkening hoods offer it.
References
- American Welding Society, complete welding lens shade chart and safety guide
- ANSI Z49.1 welding lens shade data, referenced in AWS guidance
- OSHA fact sheet, eye protection during welding
- NIOSH and ANSI/ISEA Z87.1-2020 eye and face protection standard