Cutting Stainless Steel With a Plasma Cutter: Setup and Clean Edges
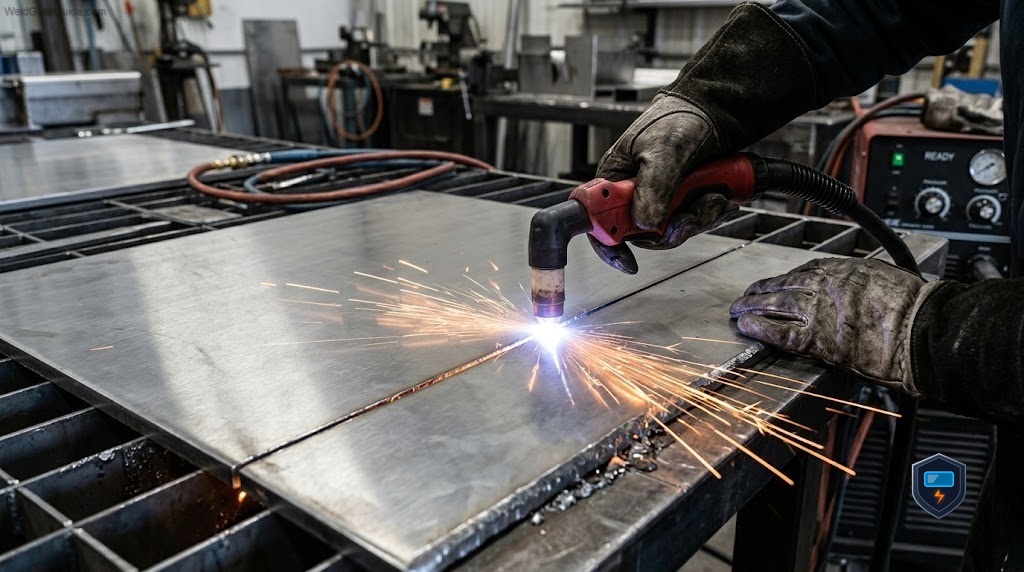
Stainless steel is one of the metals where a plasma cutter really earns its keep, because an oxy-fuel torch cannot cut it at all. Since plasma cuts any electrically conductive metal, stainless is well within reach, and with the right setup you get clean, fast cuts. But stainless behaves a little differently under the arc than mild steel, and getting clean edges with minimal dross and discoloration comes down to a few setup choices. Here is how to cut stainless well with a plasma cutter.
Why plasma cuts stainless (and a torch cannot)
An oxy-fuel torch cuts by burning (oxidizing) carbon steel, a reaction stainless steel resists because the chromium in it forms a protective oxide layer, which is exactly why stainless does not rust. A plasma cutter does not rely on that reaction; it melts the metal with an electric arc and blows it away with fast plasma. Because stainless conducts electricity, plasma cuts it just as it cuts mild steel. So yes, a plasma cutter cuts stainless, and it is the standard tool for the job.
What is different about stainless
Stainless holds heat more than mild steel (it conducts heat away more slowly), which affects cutting:
- Heat buildup near the cut can discolor the metal and, on thin sections, cause warping if you cut too slowly.
- Dross can cling to the underside, as with any plasma cut, especially at wrong speed or amperage.
- Edge discoloration (a heat tint) is normal and can be cleaned or passivated afterward if appearance matters.
The setup choices below manage these.
Setup choice 1: amperage and speed
Use enough amperage to cut cleanly through the thickness, but because stainless holds heat, keep your travel speed up to limit heat input, discoloration and warping. A slightly faster, steady pass gives a cleaner edge than a slow one. Drop to a lower-amp tip on thin sheet to keep the kerf narrow and heat down.
Setup choice 2: air supply
Stainless, like all air plasma cutting, needs clean, dry, oil-free air at the right pressure and flow. Correct air pressure gives the plasma the velocity to blow molten stainless clear of the cut, which reduces dross. Moisture in the line worsens both cut quality and discoloration, so use a filter/dryer and size the compressor to hold pressure through the cut.
Setup choice 3: consumables and standoff
- Keep the electrode, nozzle and shield fresh; worn consumables widen the kerf and worsen dross on stainless.
- Use the drag shield or correct standoff for a square edge; holding too far bevels the cut.
- Match consumables to your amperage and, if available, use fine-cut consumables for thin stainless sheet.
Controlling dross and discoloration
- Dross: the biggest factor is cut speed, get it right so sparks blow cleanly out the bottom, then confirm adequate amperage, correct air pressure and fresh consumables.
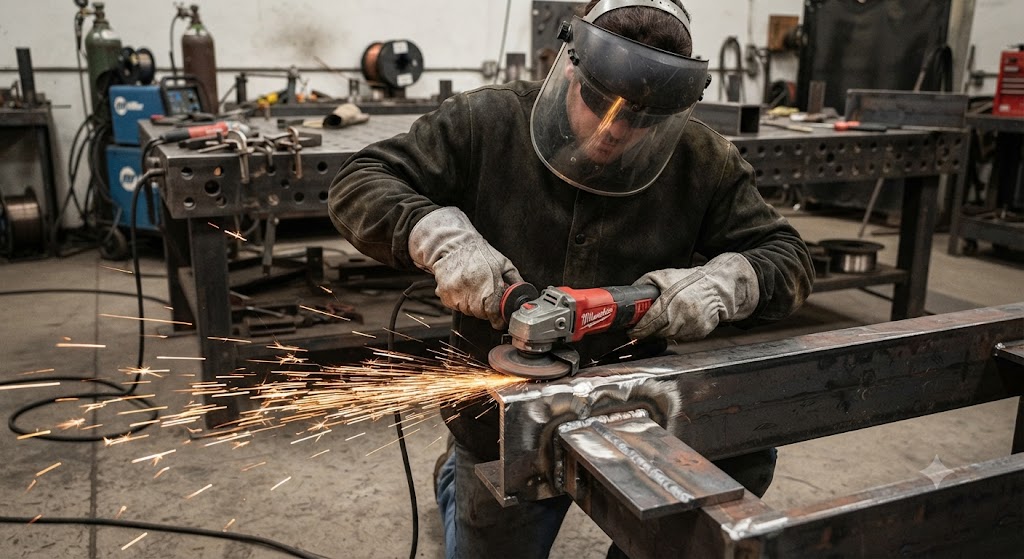
- Discoloration: minimize heat input with a faster steady pass; the remaining heat tint can be removed by mechanical cleaning or passivation if the finished appearance matters (for food-grade or architectural work).
- Warping on thin sheet: keep speed up and avoid dwelling in one spot.
The verdict
A plasma cutter cuts stainless steel cleanly and quickly, doing what an oxy-fuel torch simply cannot, and the quality of the edge is set by a few setup choices rather than by the metal being difficult.
Three things to get right. Keep travel speed up with adequate amperage, since stainless holds heat and a faster steady pass limits discoloration, warping and dross, while a lower-amp tip keeps thin-sheet cuts narrow. Feed clean, dry air at correct pressure, because proper pressure blows molten stainless clear to reduce dross and moisture worsens both cut quality and heat tint. And keep consumables fresh with the right standoff, using the drag shield for a square edge and replacing worn parts that widen the kerf.
Set those, expect a little heat tint you can clean up if appearance matters, and plasma turns stainless from a metal the torch cannot touch into clean, fast cuts.
Frequently asked questions
Can a plasma cutter cut stainless steel? Yes. Plasma cuts any electrically conductive metal by melting it with an arc and blowing it away, and stainless conducts electricity, so it cuts just like mild steel. It is the standard tool for stainless, which an oxy-fuel torch cannot cut.
Why can plasma cut stainless when an oxy-fuel torch cannot? An oxy-fuel torch cuts by burning (oxidizing) carbon steel, a reaction stainless resists because its chromium forms a protective oxide layer. Plasma melts the metal with an electric arc instead of burning it, so it cuts conductive stainless that a torch cannot.
Why does stainless discolor when plasma cut? Stainless holds heat more than mild steel, so heat near the cut creates a discoloration or heat tint along the edge. It is normal. Keeping travel speed up limits it, and the remaining tint can be cleaned mechanically or passivated if appearance matters.
How do I get a clean edge cutting stainless? Use adequate amperage with a steady, slightly faster travel speed to limit heat, feed clean dry air at correct pressure to blow the cut clear, and keep consumables fresh with the correct standoff or drag shield. These together minimize dross and warping.
How do I reduce dross when cutting stainless? Cut speed is the biggest factor, dial it so sparks blow cleanly out the bottom. Then confirm adequate amperage, correct air pressure and fresh consumables. Some underside dross is normal and cleans up easily.
Does cutting stainless need a different setup than mild steel? The fundamentals are the same, but stainless holds heat, so keep travel speed up to limit discoloration and warping, especially on thin sheet. Clean dry air and fresh consumables matter as always. Fine-cut consumables help on thin stainless.
Can a plasma cutter cut thick stainless steel? Up to the machine’s cut capacity, yes. A 50-amp machine handles around 1/2 inch, and larger 65-amp-plus systems cut thicker. Match the machine’s rated cut capacity to your stainless thickness for clean results.
How do I remove the heat tint after cutting stainless? By mechanical cleaning (grinding or abrasive) or chemical passivation, which restores the protective oxide layer. This matters mainly for food-grade, architectural or corrosion-critical work; for general fabrication the heat tint is often left as is.