How to Flux Core Weld: Equipment, Settings and Common Problems
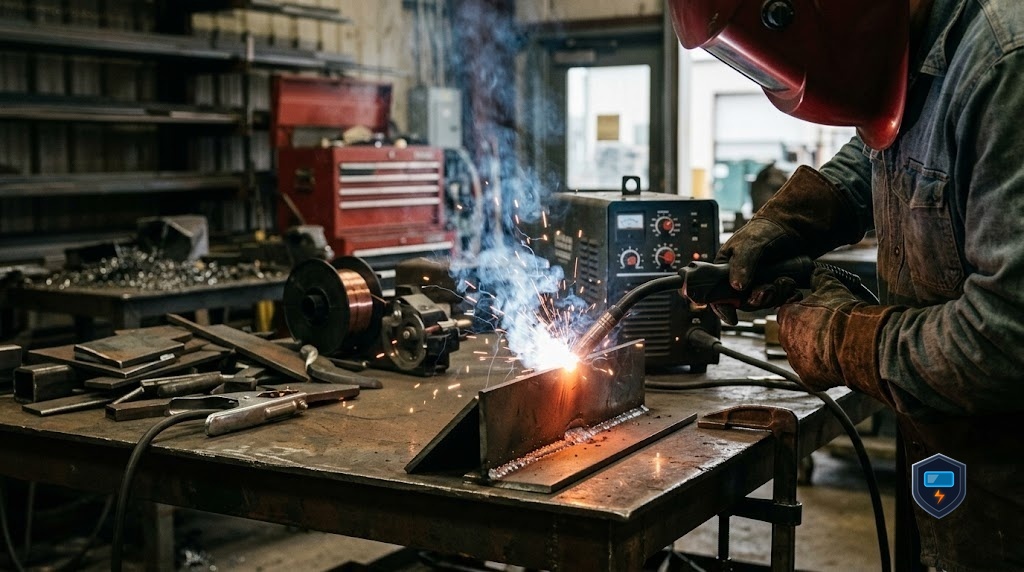
Most people’s first flux core bead looks like a row of grey lumps with holes in it. Mine did. The cause was not skill, it was that I had the machine wired as it came from the factory for solid wire, I was pushing the gun like I had seen in a video about MIG, and I was holding the tip almost against the plate.
Three corrections, ten minutes, and the next bead looked like welding. That is the useful thing about this process: the failures are specific, and each one has a specific cause.
What you are doing when you flux core weld
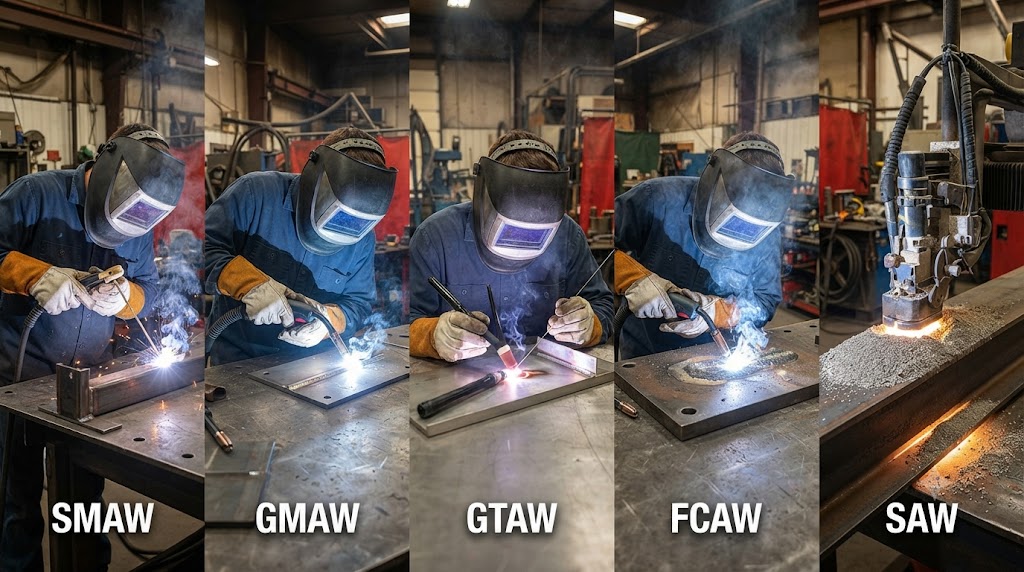
Flux core welding feeds a hollow wire filled with flux through a gun. The arc melts the wire, the flux inside burns to shield the molten puddle from the air, and the residue forms slag over the bead as it cools. No gas cylinder is needed with self-shielded wire.
The short version of how to do it: set the machine to DC electrode negative for self-shielded wire, hold about 1/2 inch of stickout, drag the gun at a 15 to 20 degree angle, travel at a steady pace that keeps the puddle just behind the arc, and chip the slag off before every subsequent pass. Those five habits produce sound welds. Everything else is refinement.
Step 1: Set the polarity correctly
Open the wire feed compartment. Inside there are two leads, usually a small jumper labelled for polarity. Self-shielded flux core needs the work lead connected to positive and the gun to negative, which is the reverse of MIG.
Manufacturer data for common wires such as Lincoln’s Innershield NR-211-MP lists this explicitly. If you buy a machine advertised as flux core ready, it may already be wired this way, but check rather than trust.
Symptoms of getting it wrong: heavy spatter, an unstable hissing arc, shallow penetration, and a bead that will not tie in at the edges.
Step 2: Load the wire without crushing it
Flux cored wire is a tube. Overtighten the drive roll and you flatten it, which causes feeding problems and erratic arcs.
- Fit a knurled drive roll if your machine includes one, matched to your wire diameter.
- Set drive tension just past the point where the wire stops slipping, not tighter.
- Trim the wire end cleanly before threading, and cut the ball off the tip after each stop.
- Remove the gas nozzle if your manual calls for it, or fit the self-shielded nozzle supplied. This keeps spatter off the contact tip and improves visibility.
Step 3: Dial in settings by thickness
Every machine’s chart differs, so treat these as a starting point and adjust by sound and appearance.
| Material | Wire diameter | Approach |
|---|---|---|
| 18 to 16 gauge | 0.030 in | Lowest voltage tap, moderate wire speed, short tacks rather than long beads |
| 1/8 in | 0.030 in | Mid voltage, steady travel, single pass |
| 3/16 in | 0.030 or 0.035 in | Higher voltage, slight weave acceptable |
| 1/4 in | 0.035 in | Bevel the joint, multiple passes, clean between each |
| 3/8 in and up | 0.035 in and larger | Multipass with a bigger machine, or gas-shielded wire |
The sound is your best gauge. A correct flux core arc makes a steady, even crackle. Popping and irregular bursts mean voltage and wire speed are mismatched. Change one variable at a time.
Step 4: Hand position and movement
Stickout of about 1/2 inch. Longer than MIG. Too short causes burnback into the tip; too long lets air reach the puddle and creates porosity.
Drag, never push. Angle the gun 15 to 20 degrees away from the direction of travel so the slag trails behind. Pushing forces slag into the leading edge of the puddle, and that becomes an inclusion locked inside the weld.
Travel speed. Move steadily enough that the puddle stays just behind the arc. Too slow and the puddle grows, sags and traps gas. Too fast and the bead is narrow and does not fuse at the toes.
Weaving. Keep it small. On flat and horizontal work a straight drag is usually best. Vertical up on thicker material benefits from a small triangle or upside-down V pattern.
Step 5: Slag discipline
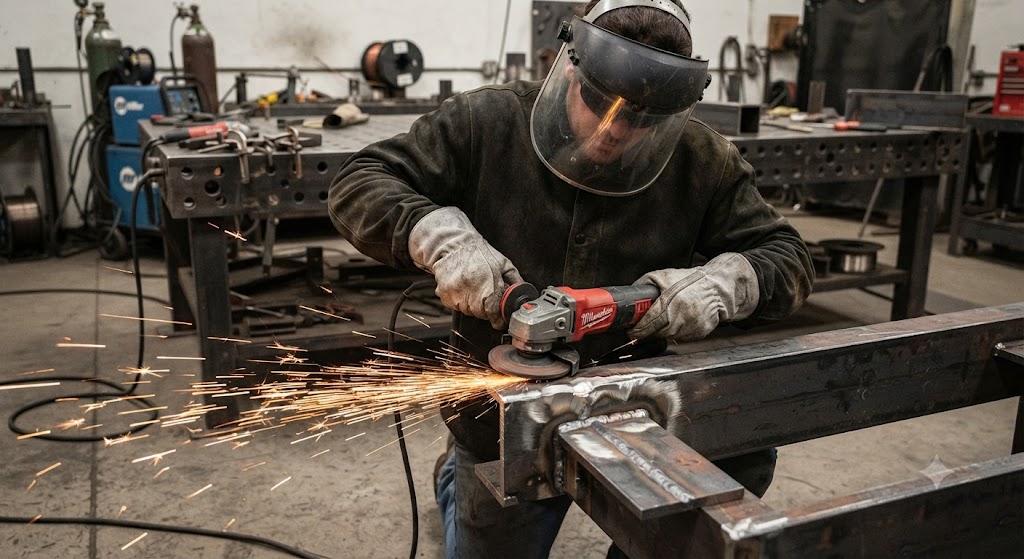
This is where finished quality is decided. Chip with a hammer, then wire brush, after every single pass. A wire wheel on an angle grinder makes this fast and is worth the tool.
Slag under a subsequent pass creates an inclusion that no amount of extra welding fixes. You have to grind it out and start that section again, which costs far more time than cleaning would have.
Wire that makes learning easier
Hobart E71T-11 in 0.030 inch is a forgiving learning wire. It feeds smoothly, tolerates variation in travel speed, and its slag lifts easily. On thin material run hot it spatters enough to clog a nozzle, so keep the settings modest on sheet.
Lincoln NR-211-MP gives the tidiest bead appearance of the common self-shielded wires and handles poor fit-up well. Its thickness recommendation tops out around 5/16 inch plate in the smaller diameters, so heavy sections need something else.
Forney 42300 E71T-GS suits quick single-pass repairs on a small spool. It is not the right classification for multipass structural welds and should not be used that way.
A twin pack of 2 pound Hobart spools is a sensible way to learn without committing to a large spool that will sit half used and gathering humidity. Small spools cost more per pound, which matters once you weld regularly.
Machines to learn on
The Lincoln Electric Handy Core runs on a household outlet and welds mild steel to about 1/8 inch. Simple, reliable, and limited: tapped voltage settings, a small duty cycle, and a thickness ceiling you will meet quickly. Anyone planning to weld trailer frames should start elsewhere.
The YESWELDER FLUX-135 adds synergic control, which sets wire speed for you when you set material thickness. For a beginner that removes one whole variable. The gun and consumables are basic and get replaced eventually, and the support network is thinner than legacy brands.
The Millermatic 142 is the machine to buy if you want equipment that never gets in the way of learning. Its drive system, gun and automatic settings are noticeably better than budget machines. It is also a 120 volt machine limited to around 3/16 inch, so buyers wanting heavier capacity should look at a dual-voltage model instead.
Six problems and their causes
Porosity across the bead. Too much stickout, wrong polarity, damp or rusty wire, or welding over heavy paint or galvanising.
Slag inclusions. Pushing instead of dragging, or failing to clean between passes.
Burnback, wire fusing to the tip. Stickout too short or wire feed speed too low for the voltage.
Birdnesting in the feeder. Drive tension too tight crushing the tubular wire, a worn liner, or a blocked contact tip.
Bead sitting on top without fusing. Voltage too low, travel too fast, or the joint not opened enough on thick material.
Burn-through on thin stock. Too much heat. Use smaller wire, lower voltage, and stitch short beads with pauses instead of one continuous run.
Safety worth taking seriously
Self-shielded flux core smokes heavily because the flux burns right at the arc. Ventilate, keep your head out of the plume, and use fume extraction if you weld indoors regularly. Galvanised steel is a particular hazard and needs proper extraction rather than an open door.
Final verdict
Flux core welding is learnable in an afternoon and the barriers are all mechanical rather than artistic. Set the polarity, keep the stickout long, drag the gun, listen for the steady crackle, and clean every pass.
Here is the part most tutorials leave out. Spend your first hour welding on scrap of exactly the thickness you plan to build with, and cut a bead in half with a grinder afterwards to see how deep it went. Ten minutes of looking at a cross section teaches more about your settings than an hour of watching the top of the bead.
Frequently asked questions
What polarity should I use for flux core welding? DC electrode negative for self-shielded wire, which is the opposite of solid MIG wire. Gas-shielded flux core uses electrode positive.
How much stickout should I use? About 1/2 inch from the contact tip to the work, longer than typical MIG stickout. Shorter causes burnback, longer causes porosity.
Should I push or drag the gun? Drag, at roughly 15 to 20 degrees. Pushing traps slag ahead of the puddle.
Why does my flux core weld have holes? Usually wrong polarity, excessive stickout, or contaminated material. Check polarity first, then reduce stickout, then clean the joint.
Do I need to remove the gas nozzle? Many machines specify a self-shielded nozzle for flux core to reduce spatter buildup and improve visibility. Follow the manual for your machine.
What thickness can I weld with a 0.030 inch flux core wire? Comfortably from about 18 gauge up to 3/16 inch in a single pass, and thicker with a bevelled joint and multiple passes.
Why does my wire keep birdnesting in the feeder? Drive tension too tight for tubular wire, a worn or wrong-size liner, or a partially blocked contact tip. Back the tension off until the wire just stops slipping.
How do I get a better looking flux core bead? Steady travel speed, consistent stickout, a proper drag angle, and thorough cleaning between passes. Wire choice matters too, since some self-shielded wires simply finish better than others.