How to MIG Weld: A Step-by-Step Beginner's Guide
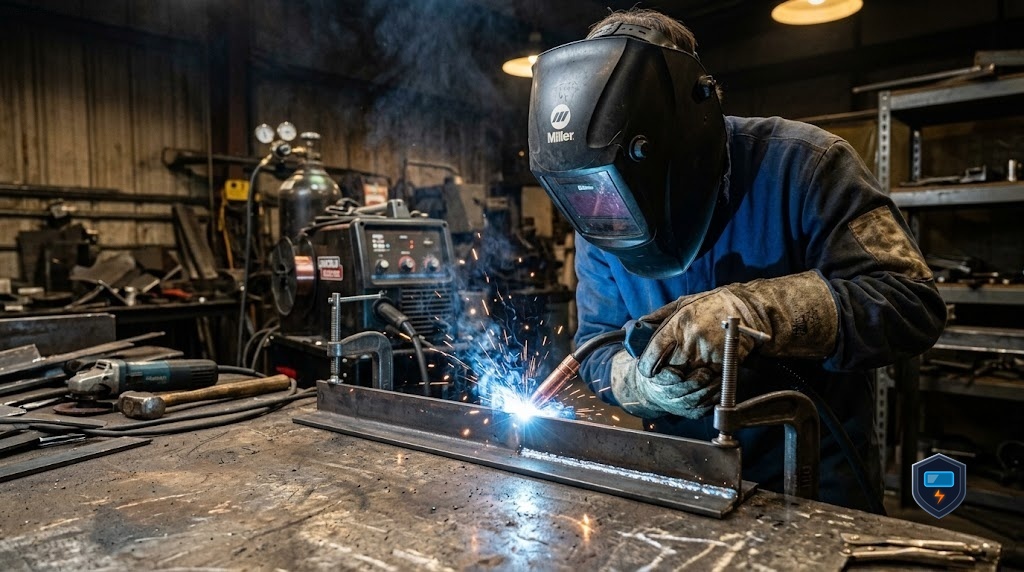
MIG welding is one of the few skills you can genuinely start on a Saturday and feel competent at by Sunday. The process does the hard coordination for you by feeding the wire automatically, which leaves you free to focus on a handful of habits that separate a clean, strong bead from a lumpy, weak one. Get those habits right and everything else follows.
This guide takes you from a cold machine to your first real weld, in order. Follow it step by step and you will understand not just what to do but why each step matters, which is what lets you fix your own welds later.
Step 1: Set up the machine and metal
Good welds start before you strike an arc. Prep first.
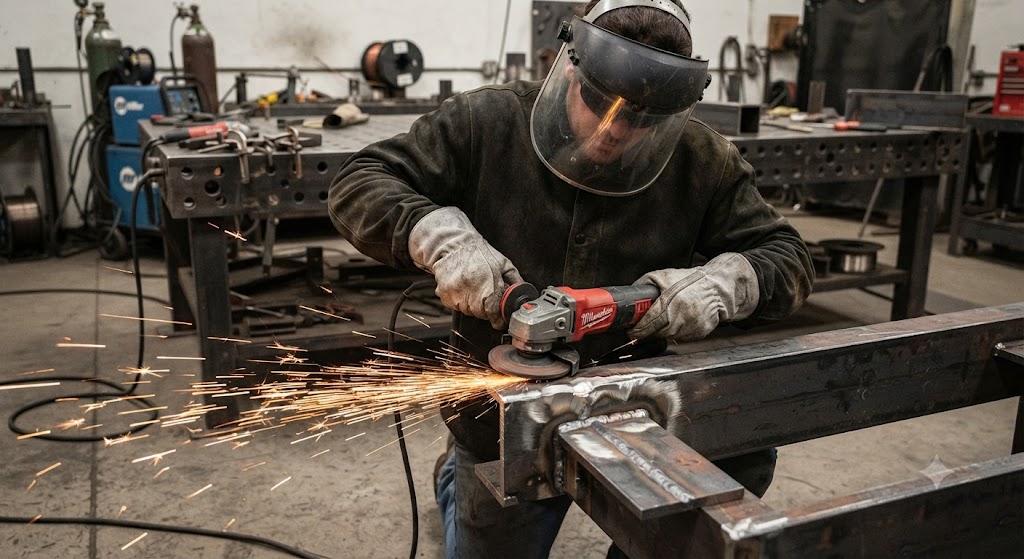
Clean the metal where you will weld. Grind or wire-brush off rust, paint, and mill scale until you see bright, bare steel, because MIG does not tolerate contamination the way stick welding does. Clamp your pieces so the joint is tight and cannot move. Then set your polarity: for solid wire with gas, the gun is positive (DCEP), while self-shielding flux-core wire runs gun-negative (DCEN). This one setting trips up many beginners, so confirm it against your machine’s chart.
Load your wire, usually ER70S-6 for mild steel, and connect your shielding gas, typically C25, setting the flow around 20 to 25 cubic feet per hour. If your machine has an auto-set mode, use it: enter the wire size and metal thickness and let it choose your starting voltage and wire speed.
Step 2: Dial in voltage and wire speed
The two settings you control are voltage (heat) and wire-feed speed (current). Your machine’s inside-door chart gives you a starting point for your metal thickness; begin there.
Then let your ears guide you. A properly tuned MIG arc makes a steady, even crackle, often compared to frying bacon or sizzling eggs. If you hear popping and spitting, your wire speed is likely too high or voltage too low. If the arc sounds hollow or the wire seems to melt back and stubble, adjust the other way. Run a test bead on scrap of the same thickness and tune until it sounds right and the bead lays flat. Never skip the scrap test; it costs a minute and saves your actual project.
Step 3: Get your body and gun angle right
How you hold the gun decides how the weld looks and how strong it is.
Hold a stickout, the length of wire from the tip to the work, of about three-eighths of an inch. Too long and the arc wanders; too short and you jam the tip. Tilt the gun about 10 to 15 degrees off vertical. Then choose a direction. Pushing, angling the gun so it points forward into the direction you travel, gives a flatter, wider bead with better gas coverage and is the easiest for beginners on steel. Pulling, or dragging, points the gun back over the finished weld and gives deeper penetration with a taller bead. Start by pushing.
Brace yourself. Rest your elbows, steady the gun with both hands if you can, and get comfortable before you trigger, because a shaky hand is the enemy of a straight bead.
Step 4: Run the bead
Now weld. Lower your hood, pull the trigger, and let the arc establish for an instant before you begin moving.
Move at a steady pace along the joint, keeping that consistent stickout and angle. Travel speed is critical: too fast and the bead is thin, ropey, and weak; too slow and you pile up excess metal and can burn through thin material. Aim for a bead about two to three times the width of your wire, with a consistent row of ripples. For a wider joint, weave the gun in small side-to-side motions like tight circles, a zigzag, or a series of Cs, pausing briefly at each edge so the weld ties into both pieces.
When you finish, hold the gun in place for a second after releasing the trigger so the shielding gas protects the cooling weld, then lift away.
Step 5: Read and fix your weld
Every bead tells you how to improve the next one. Learn to read it.
A good weld is flat to slightly convex, evenly rippled, and tied smoothly into both pieces of metal with no gaps at the edges. If the bead sits tall and balled up without fusing into the metal, you need more heat or slower travel. If you blew a hole through, you had too much heat or moved too slowly on thin material. If the bead is thin and ropey, slow down. Excessive spatter usually points to a tuning problem or dirty metal. Adjust one variable at a time and run another scrap bead. This read-and-adjust loop, more than any single setting, is how you actually learn to MIG weld.
What to take away
MIG welding is a sequence of good habits: clean prep, correct settings, steady gun control, consistent travel, and honest reading of each bead. Master those and clean welds follow naturally.
Three things to remember. Prep and settings come first, so clean your metal to bright steel, confirm your polarity, and tune voltage and wire speed on scrap until the arc crackles evenly. Gun control is the physical core, so hold a consistent stickout, keep a 10 to 15 degree angle, and start by pushing the puddle. And travel speed and bead reading are how you improve, so move steadily and adjust one variable at a time based on what each bead shows you.
Frequently asked questions
What polarity do I use for MIG welding? Solid wire with shielding gas runs gun-positive (DCEP). Self-shielding flux-core wire runs gun-negative (DCEN). Confirm the setting against your machine’s chart before welding.
How do I know if my settings are right? Listen to the arc. A well-tuned MIG arc makes a steady, even crackle like frying bacon. Popping and spitting mean your settings are off, so adjust and test on scrap.
Should I push or pull the MIG gun? Beginners should push, angling the gun forward into the travel direction, which gives a flatter bead with good gas coverage. Pulling gives deeper penetration but is harder to control.
How far should the wire stick out? About three-eighths of an inch from the tip to the work. Too long and the arc wanders; too short and you risk jamming the contact tip.
Why is my weld balling up instead of fusing? Usually not enough heat or moving too fast, so the metal does not reach the puddle. Increase voltage or slow your travel and test again on scrap.
How fast should I move the gun? Steadily enough to keep a bead about two to three times your wire width with even ripples. Too fast makes a thin, weak bead; too slow piles up metal and can burn through.
Why do I keep burning holes in the metal? Too much heat or moving too slowly on thin material. Lower your voltage and wire speed, speed up your travel slightly, and practice on scrap of the same thickness.
References
- Occupational Safety and Health Administration, Welding, Cutting, and Brazing
- American Welding Society, AWS
- National Institute for Occupational Safety and Health, Welding Safety
- Occupational Safety and Health Administration, Eye and Face Protection