Miller Digital Elite Manual and Instructions Guide
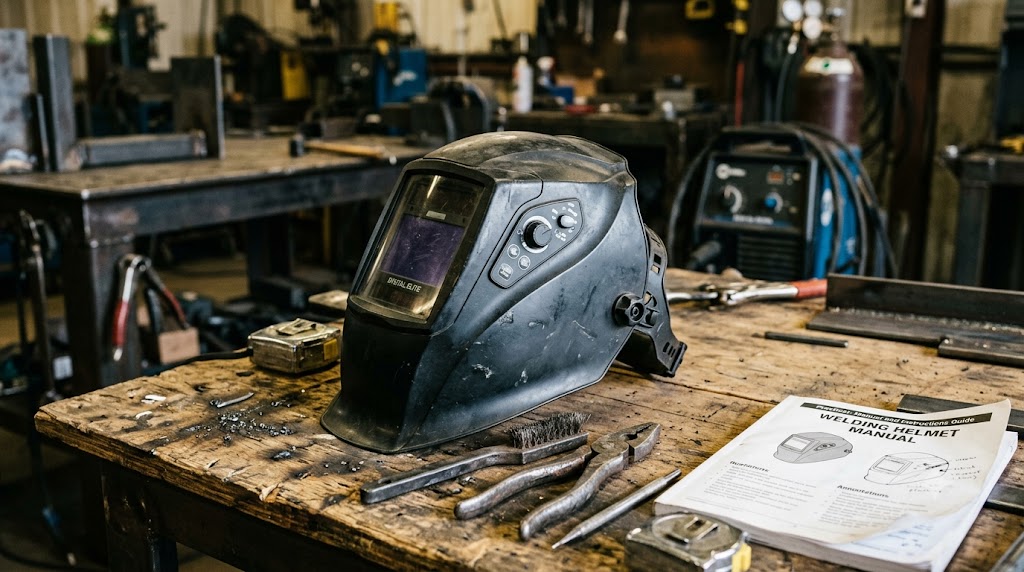
The Miller Digital Elite is one of the most consistently recommended welding helmets in the professional and serious-hobbyist segment. Getting the most out of it requires understanding what each control does. This guide covers the Digital Elite manual: control functions, setup, sensitivity and delay configuration, battery replacement, and troubleshooting.
Where to Find the Miller Digital Elite Manual
The official Miller Digital Elite owner’s manual is a free PDF download at millerwelds.com → Products → Helmets → Digital Elite → Owner’s Manual.
Miller Digital Elite: Controls Overview
1. Shade Dial
Adjusts the darkness of the lens in the triggered (dark) state.
- Range: DIN 8–13 (some variants start at DIN 5)
- Shade 10–11: MIG/stick (general)
- Shade 11–12: High-amp MIG (spray transfer)
- Shade 8–9: Low-amp TIG
- Shade 12–13: High-amp TIG / plasma
2. Sensitivity Dial
Adjusts how bright an arc needs to be to trigger lens darkening.
- Low sensitivity (1–4): Requires brighter arc - use outdoors or in high-ambient-light environments to prevent false triggers
- High sensitivity (near max): Triggers from faint arcs - use for indoor low-amperage TIG
- Common mistake: Setting too low for the environment, causing the lens to fail to darken in time
3. Delay Dial
Adjusts how long the lens stays dark after the arc stops.
- Short delay: Lens returns quickly. Use for tack welding or frequent starts/stops.
- Long delay: Lens stays dark longer. Use in high-spatter environments or when you want to observe the cooling puddle.
4. Mode Switch (on applicable models)
- Weld mode: Normal auto-darkening
- Grind mode: Locks lens in fixed low-shade state (typically shade 5)
Always return to weld mode before striking an arc.
Setup: Step-by-Step
- Remove protective film from both sides of the lens cover (new helmets)
- Install or verify batteries - 2x CR2032 via battery compartment on the ADF
- Set shade - shade 10 is a good baseline for MIG/stick
- Set sensitivity to medium
- Set delay to medium
- Test auto-darkening - cover solar panels with your hand, verify lens functions on battery alone; strike a test arc and confirm immediate darkening
- Fine-tune sensitivity - increase for indoor low-amp TIG; decrease for outdoor bright sun
- Fine-tune delay - increase if lens flickers between tacks; decrease if it stays dark too long
Battery Replacement
Battery type: 2x CR2032 lithium coin cell
- Open battery access panel on side/rear of ADF cartridge
- Note polarity orientation
- Remove old batteries; insert two fresh CR2032 cells with matching polarity
- Close panel and test
Battery life: ~3,000 hours under normal welding shop conditions.
Full Specs Reference
| Spec | Digital Elite |
|---|---|
| Viewing area | 6.68 sq. in. (3.82” x 1.75”) |
| Shade range | DIN 8–13 (DIN 3 resting) |
| Switching speed | 1/25,000 second |
| Arc sensors | 4 |
| Power | Solar + 2x CR2032 |
| Lens technology | ClearLight (on ClearLight variant) |
| Weight | ~21 oz. |
ClearLight Lens
Some Digital Elite variants include Miller’s ClearLight lens - a true-color optical system improving color accuracy and weld puddle visibility. Verify whether your model includes ClearLight before purchasing - it’s a meaningful upgrade.
Troubleshooting
| Problem | Solution |
|---|---|
| Lens won’t darken | Replace CR2032 batteries; clean sensors; increase sensitivity; verify weld mode |
| Lens won’t trigger at low amp | Increase sensitivity; ensure direct sensor-to-arc line of sight |
| Lens flickers between tacks | Increase delay |
| Green/yellow tint | Normal for non-ClearLight lens - not a defect |
FAQs
Where can I find the Miller Digital Elite manual? Free PDF at millerwelds.com under the Digital Elite product support page.
How do I set up the sensitivity and delay dials? Start both at medium, weld a test pass, then adjust: increase sensitivity if lens fails to trigger; increase delay if lens flickers between tacks.
What does each control do?
- Shade: Darkness when triggered
- Sensitivity: Arc brightness threshold for triggering
- Delay: Duration lens stays dark after arc ends
- Mode switch: Weld vs. grind mode