Welding Table Plans and Blueprints Guide
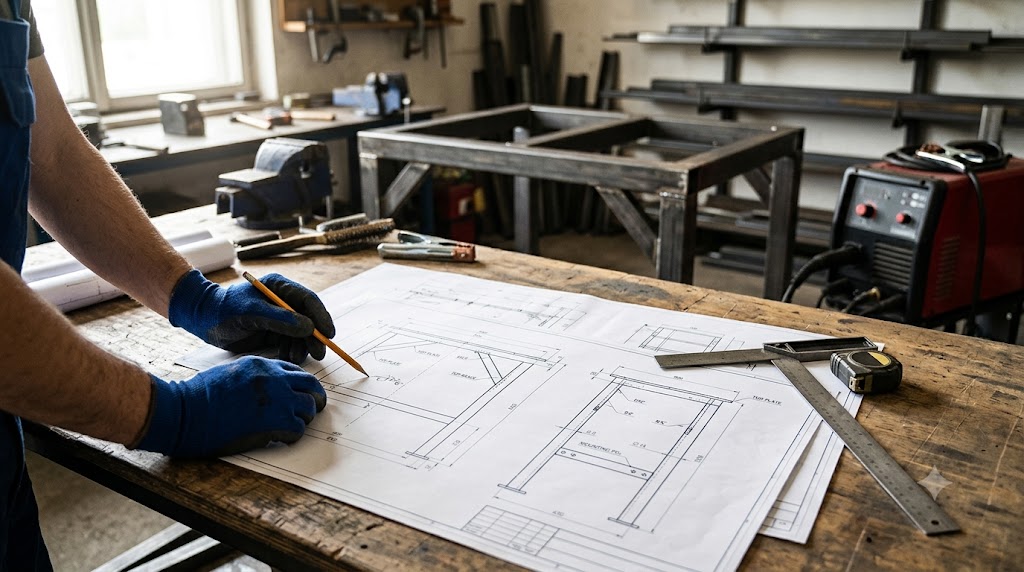
There is a rite of passage in welding: the first real project a lot of people build is the table they will build everything else on. It makes sense. A welding table is useful, forgiving of a few imperfect welds, and a genuinely good way to practice while ending up with a tool you will use for years. But a table built without a plan tends to come out wobbly, out of square, or the wrong height, so a little blueprint work up front pays off enormously. This guide covers what goes into good welding table plans, the dimensions that matter, and where to find blueprints worth building.
Welding table plans are drawings and material lists for building your own steel welding table, covering dimensions, height, top thickness, and frame design. Getting the height and top right matters most. Here is what to plan for and where to find good blueprints.
Why build your own table
Building your own welding table has real appeal beyond saving effort:
- It is excellent practice, giving you a forgiving project to improve your MIG or stick welds on.
- You get exactly what you want, choosing the size, height, and top thickness for your space and your body.
- You learn your table intimately, which helps when you fixture and modify it later.
- It is a satisfying first real project, ending with a tool you use for years.
The main things a plan needs to get right are the dimensions, the working height, and the top, so those deserve the most thought.
The dimensions that matter
A good plan starts with the numbers that shape how the table works:
- Working height is the one most people get wrong. A comfortable welding table sits roughly 6 to 10 inches below your elbow, which for many welders lands around 34 to 38 inches. A common off-the-shelf height is 36 inches, but tailor it to your height: a taller welder may want 38 inches, a shorter one closer to 34.
- Top size for a versatile home table is commonly around 2 by 4 feet, big enough for real work without dominating the shop. Scale it to your space and projects.
- Top thickness matters for flatness and heat: 1/4 inch steel is a practical minimum, while 1/2 inch to 1 inch gives a flatter, more stable surface that resists warping and holds heat, though it adds weight.
- Frame should use sturdy square tubing or angle iron, with leg bracing for rigidity and leveling feet for uneven floors.
Nail these and the rest of the build follows.
Building tips that prevent problems
A few practices separate a table that comes out flat and square from one that fights you:
- Leave the top bare steel, with no paint on the working surface, so you get a clean ground path and no fumes from burning coatings.
- Stitch weld the top rather than laying continuous beads, which limits heat buildup and the warping it causes. Skip around with short welds and let the steel cool.
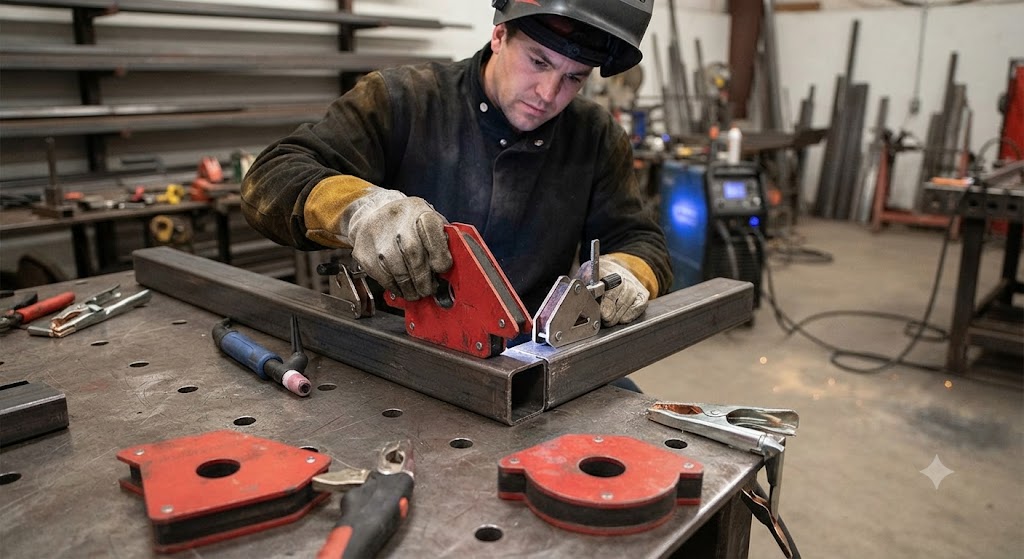
- Check for square as you tack, before you commit to final welds, since it is far easier to correct a tack than a finished joint.
- Build the frame flat, assembling on a known-flat surface so the legs end up even and the table does not rock.
- Add fixture holes or a lower shelf if you want them, planning their layout before you weld the frame.
These habits are the difference between a plan and a table that actually comes out right.
Where to find good plans
You do not have to design from scratch. Plenty of solid welding table blueprints exist, ranging from simple sturdy tables to full fixture tables:
- Weld Guru and similar welding education sites publish free, detailed table plans with dimensions and material lists.
- Instructables and maker sites host many community-built table plans with photos and step-by-step notes.
- Welding forums and video channels share proven designs and the lessons builders learned along the way.
Choose a plan matched to your skill and your steel supply, and adapt the height and top to your needs rather than following a plan blindly.
If you would rather buy than build
Building is rewarding, but it is not for everyone, and a bought table gives you a machined fixture-hole surface a home build is hard to match. If you would rather skip the project, these tables give you a ready surface:
- Klutch heavy-duty adjustable steel welding table offers a thicker top, adjustable height, and a fixture-hole grid in a sturdy ready-made package, a strong home-shop base. Its limitation is that it is not precision-ground for production accuracy.
- VEVOR welding table (36 by 18 inch, 5/8 inch fixture holes, on wheels) brings a 5/8 inch hole grid, tool slots, and mobility in an accessible package. The trade-off is a thinner top than a heavy shop-built plate.
How to choose: build your own if you want the project, custom size, and a thick top; buy the Klutch for a sturdy ready table, or the VEVOR for an accessible mobile fixture-hole surface.
The bottom line
A welding table is the classic first real project, and a little blueprint work up front is what makes it come out flat, square, and the right height. Focus your plan on the numbers that matter: a working height roughly 6 to 10 inches below your elbow (often 34 to 38 inches), a practical top size around 2 by 4 feet, and a top at least 1/4 inch thick (thicker is flatter and steadier). Leave the top bare, stitch weld to limit warping, and check for square as you go. Grab a proven plan from Weld Guru, Instructables, or a welding forum, or skip the build with a ready table like the Klutch or VEVOR. Either way, you end up with the tool everything else gets built on.
FAQ
What height should a welding table be? A comfortable welding table sits roughly 6 to 10 inches below your elbow, which for many welders lands around 34 to 38 inches. A common off-the-shelf height is 36 inches, but tailor it to your height: taller welders may prefer 38 inches, shorter ones closer to 34.
How thick should a welding table top be? 1/4 inch steel is a practical minimum. A 1/2 inch to 1 inch top gives a flatter, more stable surface that resists warping and holds heat better, though it adds more weight. Choose based on how heavy your work is and how much weight you want to move.
What size should a DIY welding table be? A versatile home welding table top is commonly around 2 by 4 feet, big enough for real work without dominating a small shop. Scale it to your space and the size of projects you build, and remember a bigger top means more steel and weight.
Where can I find free welding table plans? Weld Guru and similar welding education sites publish free, detailed plans with dimensions and material lists, Instructables and maker sites host community-built designs with photos, and welding forums and video channels share proven builds and lessons learned.
Should I paint my welding table top? No. Leave the working surface bare steel so you get a clean ground path and no fumes from burning coatings. You can paint or coat the frame and legs if you like, but keep the top clean, bare metal.
How do I keep a welding table from warping when I build it? Stitch weld the top with short welds rather than long continuous beads, and skip around to let the steel cool between passes, which limits heat buildup and warping. Build the frame on a flat surface and check for square as you tack, before committing to final welds.
References
- Weld Guru welding table plans, dimensions, and build guidance (welding education resource), weldguru.com.
- Lincoln Electric and Miller Electric guidance on welding table setup, grounding, and bare working surfaces (manufacturers), lincolnelectric.com, millerwelds.com.
- American Welding Society guidance on distortion control and stitch welding to limit warping (industry authority), aws.org.