Auto Darkening Welding Lens: Shade, Clarity and Care
The first time an auto-darkening lens fails to fire, you remember it. You are welding into a corner, your hand is between the arc and the front of the hood, and instead of the world going dark you get a bright flash straight into your eye. Nothing is damaged, usually, but you spend the next hour distrusting your own equipment.
That moment is the best possible introduction to how an auto darkening welding lens actually works, because it shows you the whole system at once: sensors that need line of sight, a liquid crystal stack that switches on command, and a power source that has to be alive for any of it to happen.
What is inside the filter
An auto darkening filter, usually shortened to ADF, is a sandwich. On the outside face are arc sensors, small photodiodes that watch for the sudden light of an arc. Behind them sits a stack of liquid crystal cells between polarizing layers. Apply voltage and the crystals reorient, blocking most of the light. Remove voltage and the stack returns to its light state.
Behind the whole assembly is a UV and infrared blocking layer that is always active. This is the part that matters most for safety and the part people misunderstand. Even in its light state, a working ADF blocks harmful ultraviolet and infrared radiation. The visible darkening is about being able to see, not about the invisible radiation.
Power comes from a solar panel, a lithium coin cell, or both. Most quality filters use both, with the solar panel extending cell life dramatically.
Reading the four numbers
Every serious filter carries a rating like 1/1/1/1 or 1/1/1/2. Those four digits, in order, are optical class, diffusion of light, variance in luminous transmittance, and angle dependence. Lower is better, and 1 is the best score.
Optical class covers distortion. A poor score means the image is subtly warped, which your brain corrects for at the cost of fatigue.
Diffusion covers haze from scattered light inside the filter.
Variance in luminous transmittance covers whether the shade is uniform across the whole window. A poor score means the corners are a different darkness than the center.
Angle dependence covers what happens when you are not looking straight through. This is the one that matters most on real welds, because you are almost never looking dead center. A 1/1/1/2 filter is fine for bench work and noticeably worse when your head is turned.
If you weld out of position, pay for the fourth digit. If you weld flat on a bench all day, you can save money there.
Shade range, in practice
Most variable filters cover shade 9 to 13, and better ones go 8 to 13 or wider. Rough starting points:
- Low amperage TIG on thin material: shade 9 to 10
- General MIG on steel around 100 to 200 amps: shade 11 to 12
- Stick welding at higher amperage: shade 12 to 13
- Plasma cutting: shade 5 to 8, which requires a filter with a cut mode
The practical method beats the chart. Start one shade darker than you think, run a bead, and step down until you can see the leading edge of the puddle and the toes of the weld clearly. If you are straining to see, you are too dark. If your eyes feel tired afterward, you were too light.
Switching speed and sensitivity
Switching speed is quoted as a fraction, often 1/20,000 or 1/25,000 of a second. Anything in that range is effectively instant for eye safety. Faster numbers on the box are marketing more than function.
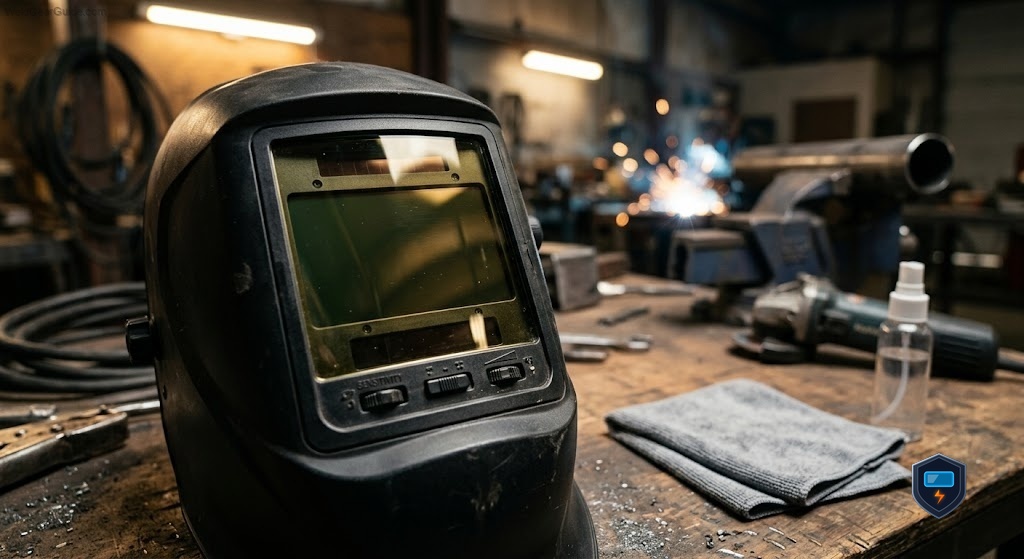
Sensitivity is the setting that causes actual problems. Too low and the filter misses a dim TIG arc. Too high and it triggers off the arc at the next bench, off shop lighting, or off sunlight through a doorway. If your lens keeps darkening for no reason, turn sensitivity down before you conclude anything is broken.
Sensor count matters here too. Two sensors are fine on a bench. Four sensors give you redundancy when your hand, the workpiece, or a flange blocks one. Miller’s approach on the Digital Elite adds a mode that detects the arc electromagnetically, which addresses the blocked sensor problem directly rather than adding more eyes.
Fitment: the part that trips people up
ADFs are not universal, despite what listings suggest. Before buying a replacement filter, measure three things: the overall filter dimensions, the viewing window dimensions, and the depth of the recess in your shell.
Standard industrial sizes cluster around 110 by 90 millimeters for the filter body, but Lincoln, Miller, and 3M all use platform-specific parts that do not swap freely. A Speedglas 9100 series filter fits Speedglas 9100 shells and nothing else. The same is true in the other direction.
If you own a name-brand hood, buy the platform filter. If you own a generic shell, measure carefully and expect to test fit.
Care, and why most filters die young
The filter itself rarely fails. What fails is everything around it.
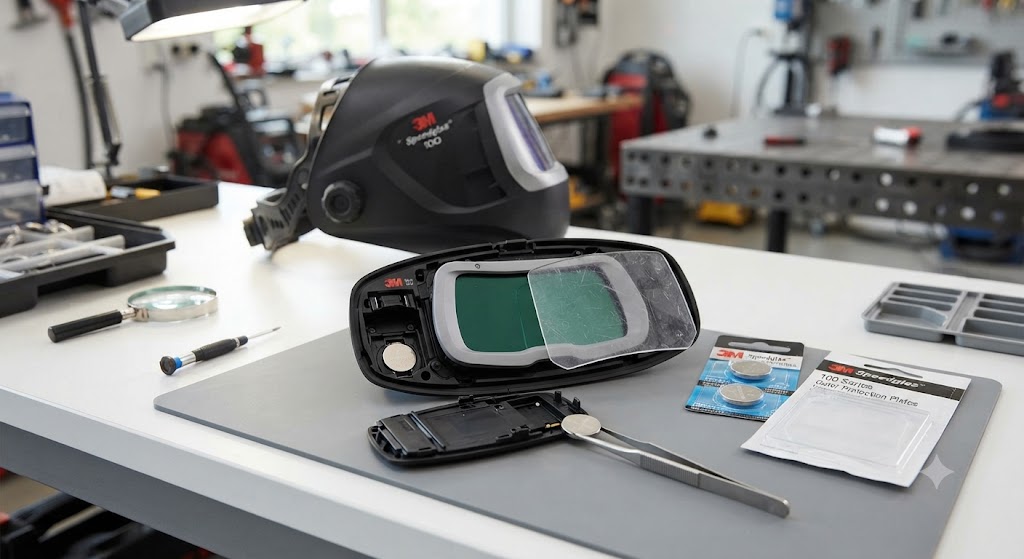
Cover lenses. The clear polycarbonate in front takes the spatter. Once it is pitted, your view degrades and you blame the filter. Change them as consumables. Cover lens packs cost a fraction of a filter.
Sensor faces. Spatter dust on the sensor windows makes the filter sluggish or unreliable. Wipe them whenever you change a cover lens.
Heat. Leaving a hood on a hot workpiece or in a truck cab in summer degrades the liquid crystal stack over time. Store it in a bag, out of direct sun.
Cold. Most filters are rated down to around 14 degrees Fahrenheit. Below that, switching slows noticeably. Warm the hood before starting outdoor winter work.
Batteries. A CR2450 multi-pack covers most filters. Symptoms of a dying cell are late darkening and flickering, not total failure.
One thing not to do: never clean a filter with solvent. Acetone and brake cleaner attack the polarizer layers. A damp cloth and a dry one is the whole procedure.
What to take away
A good auto darkening lens disappears. You set it once, you forget it exists, and you weld. That is the standard to hold yours to.
Three things worth remembering. The fourth digit in the optical rating is the one that shows up in real welding positions, so do not treat 1/1/1/2 as equivalent to 1/1/1/1 if you work out of position. Sensitivity, not shade, causes most nuisance behavior. And a filter that seems to be failing is usually sitting behind a cover lens that needs changing, which means the cheapest part in the hood is the one deciding how good the expensive part feels.
Frequently asked questions
Does an auto darkening lens protect my eyes before it darkens? Yes. The ultraviolet and infrared blocking layer is always active, whether the filter is in its light state or dark state. The darkening controls visible brightness so you can see the puddle.
What shade should I use for MIG welding? Shade 11 to 12 covers most steel MIG work in the 100 to 200 amp range. Adjust down if you cannot see the puddle edges clearly, up if the arc feels harsh.
Why does my lens darken when nobody is welding? Sensitivity is set too high. Shop lighting, sunlight through a door, or a neighbor’s arc can all trigger an oversensitive filter. Reduce sensitivity a step at a time.
Why did my lens fail to darken during a weld? Most often a sensor was blocked by your hand, the workpiece, or the joint geometry. Other causes are a dead battery, dirty sensor windows, or the helmet being left in grind mode.
Are all auto darkening lenses the same size? No. Sizes cluster around common industrial dimensions, but major brands use platform-specific filters that do not swap between makes. Measure the filter body, window, and shell recess before buying.
How long does an auto darkening filter last? Several years of regular use is normal if it is kept out of heat and protected by fresh cover lenses. Filters usually degrade gradually rather than failing outright.
Can I use one filter for TIG, MIG, and stick? Yes, if it has a variable shade range and is rated for low amperage. Very low amp TIG produces a dim arc that entry level filters can miss, so check the low amp rating.
How do I clean an auto darkening lens? A soft damp cloth followed by a dry one. Never use solvents, acetone, or abrasive cleaners, because they attack the polarizing layers permanently.
References
- Occupational Safety and Health Administration, Eye and Face Protection
- American National Standards Institute and ISEA, Z87.1 Occupational Eye and Face Protection
- National Institute for Occupational Safety and Health, Welding Safety
- 3M, Speedglas Welding Filter Technical Information