Welding Helmet Fit and Adjustment Guide
A welding helmet that doesn’t fit properly isn’t just uncomfortable - it’s a safety hazard. A helmet that slips, doesn’t seal out light, or causes neck fatigue will affect your ability to weld and can expose you to arc flash or UV radiation. This guide covers proper fit and adjustment for all major helmet types.
How Should a Welding Helmet Fit?
A properly fitted welding helmet:
- Stays level when the head tilts forward - the helmet should not fall down over the face when bending to inspect work
- Doesn’t rock side to side - the headgear adjustment should secure the helmet so it doesn’t shift during movement
- Sits at the correct depth - the lens should be positioned approximately 3–5” from the eyes for optimal field of view
- Doesn’t cause pressure points - the headband should distribute pressure evenly without hot spots on the forehead, temples, or back of the head
- The flip-front shell balances without excessive downward weight on the front of the head
Key Adjustments on Most Welding Helmets
Headband Size (Circumference)
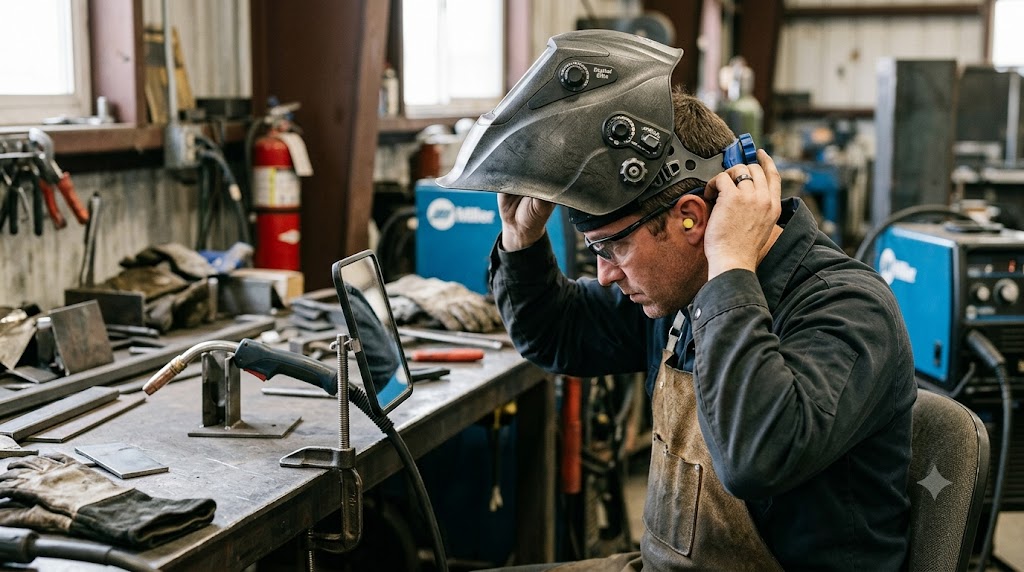
The primary fit adjustment. Most helmets use a ratchet-style knob at the back:
- Turn clockwise to tighten (smaller circumference)
- Turn counter-clockwise to loosen
- Correct fit: The headband holds the helmet on without gripping so tight it causes pressure headaches. You should be able to slide two fingers under the band at the forehead with mild resistance.
Headband Height (Vertical Position)
Some helmets allow adjustment of where the headband sits on the head (higher = more forehead clearance):
- For welders wearing safety glasses under the helmet, lower headband position is often better
- For welders wearing a welding cap, adjust so the cap doesn’t compress uncomfortably
Shell Pivot Position (Lens Distance)
The lens-to-eye distance is set by the shell pivot or hinge position on the headgear:
- Closer to eyes: Larger apparent field of view; less peripheral light entry
- Further from eyes: More clearance for respirator use; slightly reduced apparent field of view
- Most helmets have 2–3 adjustment positions
Flip-Up Counterbalance
On helmets with a flip-front shell, some models have a counterbalance spring that affects how easily the shell flips:
- Adjust so the shell stays firmly down during welding (shouldn’t vibrate or bounce)
- Should flip up easily with one motion without spring-loading so stiff it requires two hands
Helmet Fit with Glasses
Welding helmets are designed to accommodate safety glasses. Key considerations:
- Safety glasses should be worn inside the helmet - position the helmet so the glasses sit normally on the face with no pressure from the headgear pushing them down
- Progressive/bifocal lenses: The lens-to-eye distance affects usability of bifocal glasses under a helmet; bring your glasses when fitting a new helmet if this applies
- Prescription glasses: If the lens-to-eye distance is too close, prescription glasses may press uncomfortably. Some helmets (Miller, Lincoln Elite series) offer extended depth for glasses wearers
Neck Strain and Head-Weight Balance
Auto-darkening helmets weigh 1.5–3+ lbs. This weight, cantilevered in front of the face, creates neck fatigue over long welding sessions.
Reducing neck fatigue:
- Choose a lighter helmet for long-duration work: ESAB Sentinel, Lincoln Viking 3350, Miller Digital Elite all weigh under 1.7 lbs
- Adjust headband height so the helmet’s center of gravity is closer to the head
- Ensure correct tightness: Too loose = constant micro-corrections = neck fatigue; too tight = muscle tension
- Use a welding cap - the thin cotton layer cushions the headband contact points and reduces pressure fatigue
Auto-Darkening Helmet Fit Check
Before welding with a new auto-darkening helmet:
-
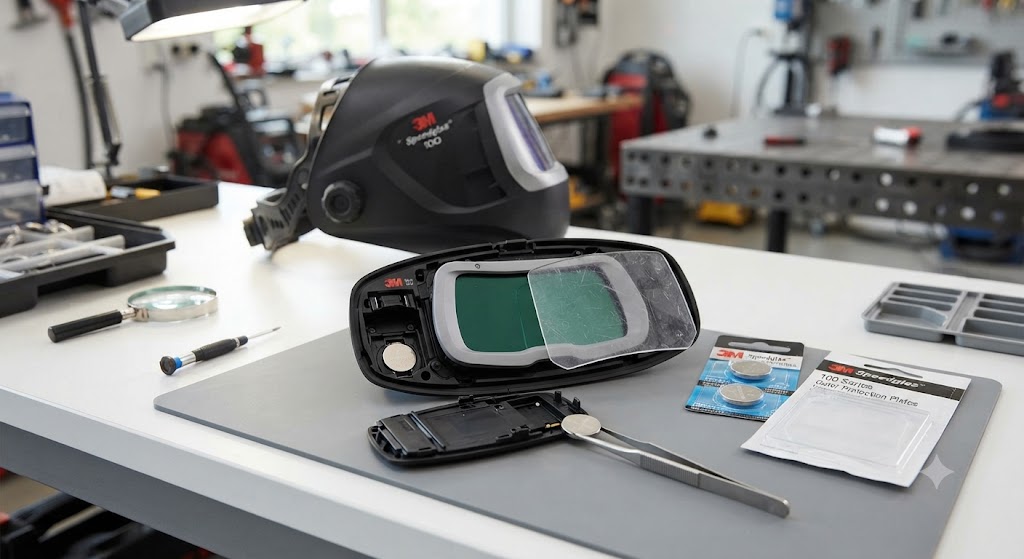
Solar cell check: Position the helmet outdoors or under a bright light. The ADF (auto-darkening filter) should darken when the solar cells receive light. If it doesn’t darken, the cells may be blocked or the battery is depleted.
-
Shake test: Shake the helmet gently. The ADF should not change shade from the motion. If it does, the sensitivity may need adjustment or the helmet has a manufacturing defect.
-
Arc strike test: Strike a test arc on scrap metal. Verify the lens darkens before the arc light reaches your eyes - the transition should be imperceptible.
-
Light leak check: With the helmet down, check for any gaps around the perimeter where light enters. Light leaks usually occur at the chin area or around the brow.
FAQs
How should a welding helmet fit? It should sit level, not rock side to side, stay in place when the head tilts forward, and distribute headband pressure evenly without hot spots.
How do I adjust the headband on my welding helmet? The ratchet knob at the back adjusts circumference. Most helmets also allow headband height and lens pivot position adjustment.
Does a welding helmet fit over glasses? Yes - welding helmets are designed to accommodate safety glasses. Adjust the lens-to-eye distance (shell pivot) to ensure glasses fit comfortably under the headgear.